This was taken off the road around Waimakariri in Christchurch!
Best of road!
Techie news, About things that matter.
This was taken off the road around Waimakariri in Christchurch!
Best of road!
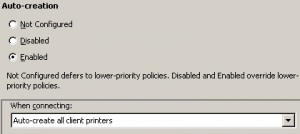
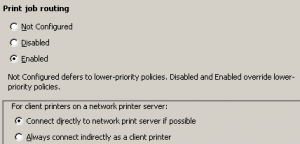
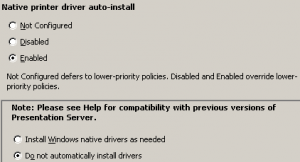
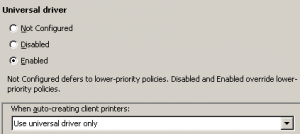
Contrary to common belief, Citrix printing CAN be reliable.
The following steps will guide you in attaining that.
The environment is Windows 2003 Server, Xenapp 4.5, and a wire array of clients; standard metaframe server.
So, probably a dumb question – what is the print spooler. Keep in mind that with this excercise we are looking to tie in the windows spooler and citrix spooler service.
The considerations are:
remote access how to – We saw previously ONE method to log off a user, that was the clean way of gaining remote desktop.
There is another way, a dirty way but it works none-the-less, and gains your remote desktop:
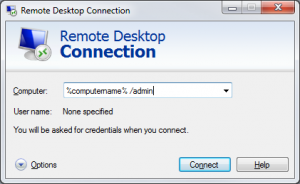
This approach gives you remote access (sitting in front of the machine/console). Add the /Admin switch in the mstsc box.
Additional to this, you will approach also has the ability of allowing you to install some programs that will only install via console.
So, Along with the few days of sun and work aside, I managed to put a little bit of into the boat.
The rear fin – This required a fair about of chopping back because of the amount of damage from the drop.
Most grinders will work in this situation, however, remember about the balance of power versus handling.
Before being able to do any external work, the inside needed strengthening, however this was also the tricky part because the work needs to be done upside-down to maintain the original shape of the fin.
To account for this I weighed down the boat with a very *convenient* marble table that happened to break with the last big earthquake.
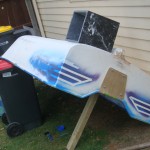
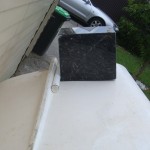 The internal work called for some quick drying, so instead of making a rock-hard mix, I waited for a nice warm day. This seems to help in terms of the resin having the drying effects of very rich a-mixture.
After the complete cleanup the fun work begun (fiber)!
The one easy way to avoid a dirty/finish was to keep replacing the brush every hour or so (try those cheap Chinese knock-offs), they work pretty well.
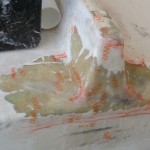
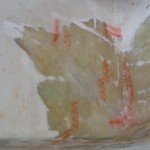
Like every boater will tell you before purchasing a new boat, take an expert along. That is what I did not do.
Note the condition of the supports before beginning work on them:
Hope you love tedious gentle cleanup.
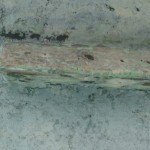
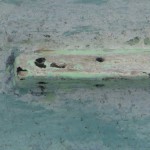
Be weary of what you remove from the compromised fiber, you will need anything that will deteriorate, however make sure you leave enough to mold your new fiber over.
Surrounding paint was removed for good contact with the hull. Sorry I was not about to take pictures of the application of fiber. The pictures below show the product cleaned up and with the first layer of fiber.
The boat originally came with some rotting wood the age of your grandpa’. This called for a new engine mount.
In this situation, some treated plywood was just sitting around in the garage – thank you very much – the cheap part.
The expensive part came in the form of a nice set of stainless bolts.
Note the Before picture.
Because I already removed cleared out the rear the opportunity came along to put fix the two bottom bolts in resit + fiber.
Note the two lower bolts just below the new front-facing support.
The end result looks a little something like this.
For us here it is the end of summer so the continuation of this project will have to wait a bit…
Thank you for your time.