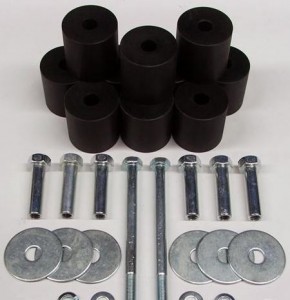
As per my previous post, about the 2 inch body lift kit for your Vitara 2 door gen 2, please note the install instructions. I have just asked the permission from the manufacturer to point people in his direction, so his e-mail address may pop up soon. I remember seeing other lift kits available for other makes.
Kit contains:
10 Body lift blocks
6 M10 female tube bolts
6 50mm diameter washers for M10 tube bolts
2 M10 bolts for front mounts
2 M10 flat washers
2 M10 spring washers
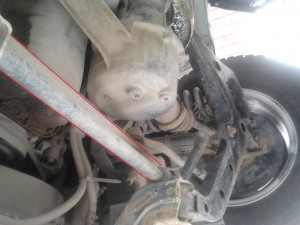
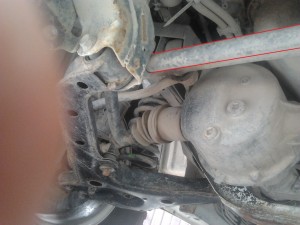
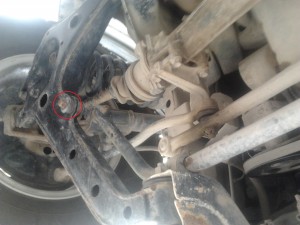
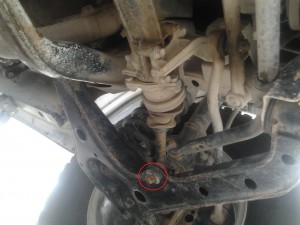
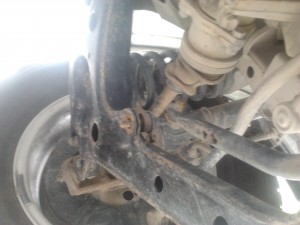
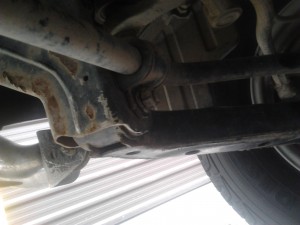
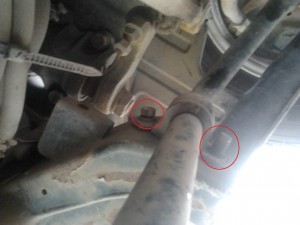
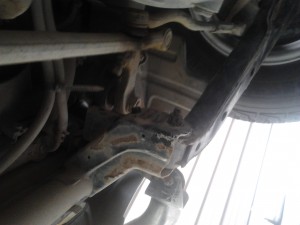
Excuse the lack of pictures but the instructions follow:
The grade of technical skills is rated about a 3.5/5 and do recommend that your mechanic checks over your work after you’re done.
This took about 3 days worth of work but I had never done a body lift before. Good lift kit in my opinion though.
I have just sold the car but the lift kit seemed to have stiffened up the suspension somehow, even though I dont see how.
One word of caution – do not let your chassis slide from your car or you could be in a world of pain.
Installation instructions:
1. Park the vehicle on level ground, and disconnect the battery.
2. Remove grille and headlights and remove the front body bolts.
3. Remove the steel sleeve from the front body mounts.
4. Un-bolt the brake pipe junction from the chassis – located on the right hand
side of the chassis just in front of the firewall.
5. Loosen the clamp bolts at either end of the steering shaft between the firewall
and steering box.
6. Un-clip any wiring from the firewall that runs to the engine.
7. Un-clip A/C piping from inner guard (if fitted).
8. Un-plug the O2 sensor.
9. Loosen the air intake pipe to the air-box.
10. V6 models: Un-bolt fuel lines from the body on the right hand side of the
engine bay. Remove the strut brace – inner arches will need to be trimmed to
re-fit the strut brace after body lift.
11. Remove the plastic console surrounding the gear levers in the cabin.
12. Remove the retaining rings which hold down the rubber gear lever boots.
13. Remove the front and rear bumpers.
14. Loosen the fuel filler hose clamps.
15. Remove the clips from the brake hose to the left front wheel, and pull the hose
free from the mounts.
16. Loosen and remove the other body mount bolts found behind the front wheels,
in front of the rear wheels, and at the rear of the chassis.
17. Slowly jack one side of the body up until there is just enough room to install
the spacer blocks. Take your time, and keep checking that no hoses or wires
are caught or getting stretched while jacking.
18. Remove the plastic sleeves from the body mount studs and install the spacer
blocks with the parts in this order: body, spacer block, rubber bush, chassis.
19. Glue two spacers (4 on LWB) in place between the mid body mounts using
black body adhesive / silicone.
20. Gently lower the body back on to the chassis and loosely fit the rubber bush
and supplied female tube bolts and washers to the studs, but do not tighten
fully.
21. Repeat for the other side of the body.
22. Install the new longer bolts in the front mounts.
23. Once all bolts are loosely fitted and aligned properly, tighten the bolts fully.
24. Bolt the brake pipe junction back onto the chassis. If both bolts will not line
up, move the block up one hole and install one bolt.
25. Tighten the steering shaft bolts.
26. Re-clip the wiring, A/C and O2 sensor back in.
27. Re-attach the intake pipe. 16 valve models may need the alloy intake pipe
spacing up to reduce tension on the hose.
28. Re-fit the gear lever boots and console. Check the transfer lever and gear
lever can select all gears without touching the body or console or popping
back out of gear. Fitting the inner transfer boot upside down can help with
this, or sometimes the levers will need to be re-bent or cut and welded to clear.
29. Re-fit the front and rear bumpers. If using the stock bumpers brackets will be
required to raise the bumper to match the body.
30. Tighten the fuel hose clamps.
31. Drill a 16mm hole in the left hand inner guard, 50mm below the original brake
hose hole. Undo the brake hose connection and move it to the lower hole.
32. Clip the brake line back into place.
33. Bleed the left hand front brakes.
