Boat Restore: Part 2

So, Along with the few days of sun and work aside, I managed to put a little bit of into the boat.

This edition: Body work.

Cleanup

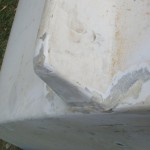
The rear fin – This required a fair about of chopping back because of the amount of damage from the drop.
Most grinders will work in this situation, however, remember about the balance of power versus handling.

Patchup: Internal Rear Fin

Before being able to do any external work, the inside needed strengthening, however this was also the tricky part because the work needs to be done upside-down to maintain the original shape of the fin.
To account for this I weighed down the boat with a very *convenient* marble table that happened to break with the last big earthquake.
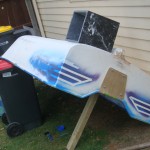
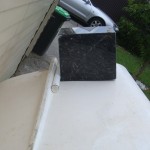
The internal work called for some quick drying, so instead of making a rock-hard mix, I waited for a nice warm day. This seems to help in terms of the resin having the drying effects of very rich a-mixture.

Patchup: External Rear Fin

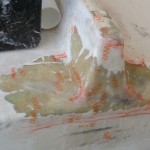
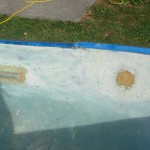
After the complete cleanup the fun work begun (fiber)!
The one easy way to avoid a dirty/finish was to keep replacing the brush every hour or so (try those cheap Chinese knock-offs), they work pretty well.

Cleanup: Seat supports

Like every boater will tell you before purchasing a new boat, take an expert along. That is what I did not do.
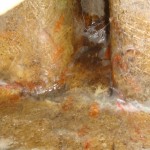
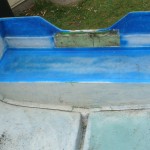
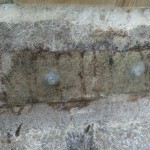
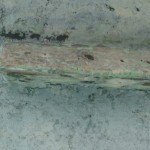
Note the condition of the supports before beginning work on them:
Hope you love tedious gentle cleanup.

Repair: Seat Supports

Be weary of what you remove from the compromised fiber, you will need anything that will deteriorate, however make sure you leave enough to mold your new fiber over.
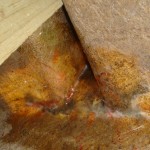
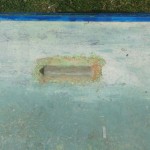
Surrounding paint was removed for good contact with the hull. Sorry I was not about to take pictures of the application of fiber. The pictures below show the product cleaned up and with the first layer of fiber.

Cleanup: Outboard Mount

The boat originally came with some rotting wood the age of your grandpa’. This called for a new engine mount.
In this situation, some treated plywood was just sitting around in the garage – thank you very much – the cheap part.
The expensive part came in the form of a nice set of stainless bolts.

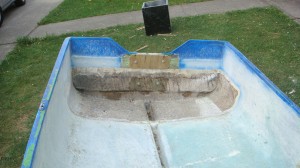
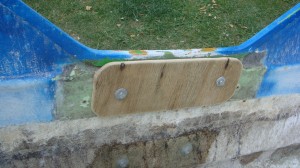
Note the Before picture.

Because I already removed cleared out the rear the opportunity came along to put fix the two bottom bolts in resit + fiber.
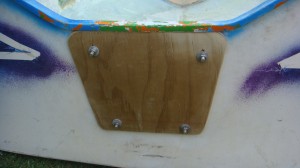
Note the two lower bolts just below the new front-facing support.

The end result looks a little something like this.

For us here it is the end of summer so the continuation of this project will have to wait a bit…

Thank you for your time.
Boat Restore: Part 1

To cut a pretty long story short, I have purchased a boat in as-is condition.

Note-worthy issues that were pre-existing were:

  1. Engine – unknown condition, sorry I havent had the chance to document this, however, we’ll just say the compression was not the best upon purchase, impeller gone, and the carbie was in dire need of some looking after and tuning.
  2. Hull – had not been maintained in what seemed like forever, but although not pressing for repair I managed to drop it and turned a winter project into summer one (instead of fishing).

The build of this project will not focus on the engine  but the latter.

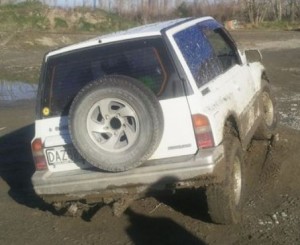
So here, here we are..a boat that’s been dropped from about 2 meters high (off my Suzuki Tracker) and along with the damages to the car I also managed to do a few numbers on the boat too.

Bad pic but here she is.

This is what the project will entail what the picture below shows plus the following:

  • Filling both front and rear hulls with expandable foam.
  • Budget paint job outside and inside the boat. Black/White + “Homer”  in Yellow.
  • Putting a box under the chair (for anchor and such).
Red:Damage Black:Enhancement

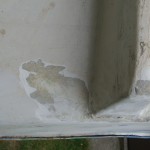
Below are the two damaged hulls:

Front – note how the damage that would make the boat non-water-tight.

Front

Rear – the seat has come unstuck and there is no engine support:

Rear cleared off
Rear


I started with the rear. Removal of the “seat was done with two large flat-head screwdrivers. The picture also shows the area grinded back.

The seat required a bit of work to clear away the old resin (about 3 hours actually – for only one seat). Note the damage to the fiber.

For this repair, I just bought a $50 Fiberglass repair kit. This came with the catalyst and cleaner. There was 500ml of Polyester – about right to get the job done.
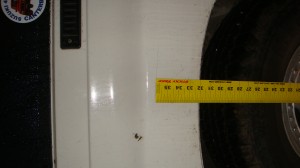
Advise before beginning from seasoned experts:

  • Mix – measure 5 times Mix once. Application temperature will affect the mount of catalyst you will be needing.
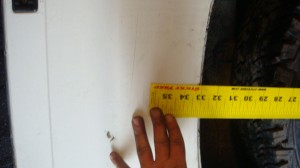
    My resin required a %2 mix – Apparently! The factory specifications hardened the mix in 2 minutes. I used % 0.35 mix.
    Try a small quantity first then adjust accordingly.
    If the mix is too weak (not enough catalyst it will not harden. Too strong – unusable.
  • Use hot air to start reaction if your mix is too weak.
  • Ensure there are no air bubbles.
  • CLEAN thoroughly before application.
Patching
More patching

Similar situation in the front; two screwdrivers one following the other so to space the tip entry points. At this point I also decided that the blue piping on the front will be replaced with black piping.

Box removed, hull front hull removed.

Next up came the fiber work to be done on the front hull (after the grinding and sanding of course – hope you like white powder).

Unsanded
Notice the different fiber

Thanks for the quick read of Part 1. Part 2 is soon to follow.

Replacing/Upgrading rear shocks on Suzuki Escudo/Geo Tracker 1.6, 2Door

Being in New Zealand, we have a fair amount of Holden’s on the road. Worldwide you will more commonly recognize the manufacturer as Vauxhall.

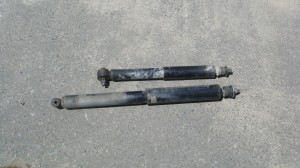
After a bit of reading I found out that the VL Commodore shocks are longer and provide more down travel and softer ride.

The total cost:
Shocks – $1 on Trademe (online auction).
Delivery – $15
Nuts and bolts – $10 Local shop

Objective:  13cm more drop.

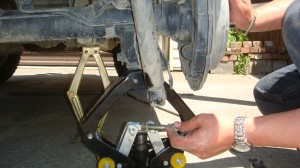
Let’s begin; jack her up:

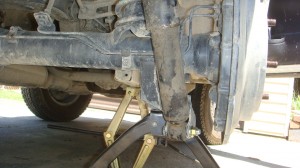
Note I used two jacks to maintain the height of the diff.

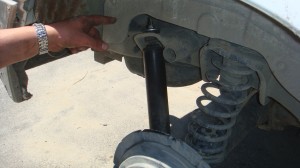
The two pictures below only show the new shock installed but the principle is to remove the nut and bolt at the bottom, and up top the two nuts/or one lock nut.
Check out the drop 🙂

Mission complete. Now we are left with two new issues:

  1. Brake hoses – too short.
  2. Springs too short.

Stay tuned, I will soon document cheaper replacement springs and brake hoses extensions.

Replacing/upgrading rear springs on Suzuki Escudo/Geo Tracker 1.6, 2Door, 96 with 4Door, v6, 2.0

If you have read the first post on changing the front springs you will probably have a giggle at this one. Simple. If you have 20 minutes up your sleeve consider the rear done.

Cost:
$50

In this situation, I took the springs from the 4 door model and installed them into the two door. The target goal was 1″ of lift.

Due to this change not being too high you will not need to replace the shocks or worry about the change in ride.
Begin by jacking the rear up:

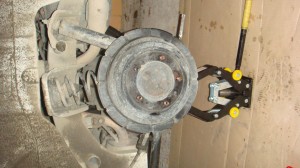
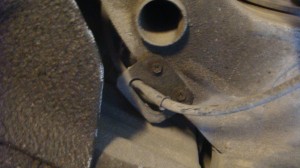
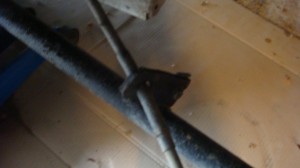
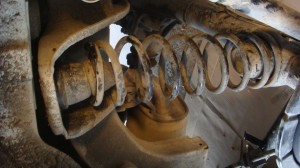
Next up remove the brake hose by removing the two bolts visible:

It will look a little like this:

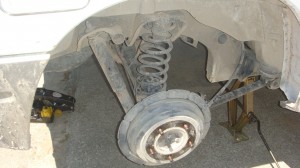
The spring will now drop:

Note for me the spring did not need any convincing to be removed.

Go ahead and remove it:

Here we go, the before and after; one inch closer to fitting your target tires:

Before (excuse the picture quality):

And after: