Remotely log off a user

If you like every other sysadmin have users that simply forget to log-off, throw the following in a batch script.
This script will need to run with admin rights.


echo off
cls
echo What is the machine name?
set /p server=
quser /server:%server%
set /p session=
logoff %session% /server:%server%
quser /server:%server%

Replacing/Upgrading rear shocks on Suzuki Escudo/Geo Tracker 1.6, 2Door

Being in New Zealand, we have a fair amount of Holden’s on the road. Worldwide you will more commonly recognize the manufacturer as Vauxhall.

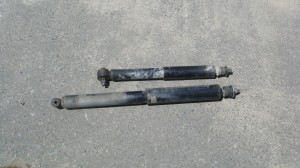
After a bit of reading I found out that the VL Commodore shocks are longer and provide more down travel and softer ride.

The total cost:
Shocks – $1 on Trademe (online auction).
Delivery – $15
Nuts and bolts – $10 Local shop

Objective:  13cm more drop.

Let’s begin; jack her up:

Note I used two jacks to maintain the height of the diff.
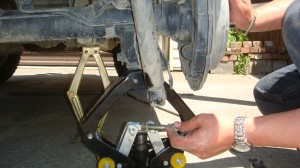
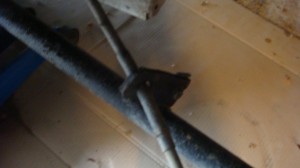
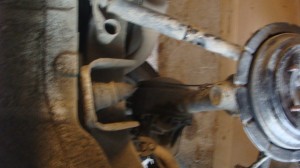
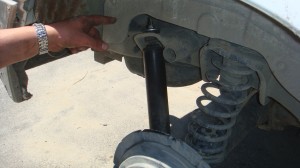
The two pictures below only show the new shock installed but the principle is to remove the nut and bolt at the bottom, and up top the two nuts/or one lock nut.
Check out the drop 🙂
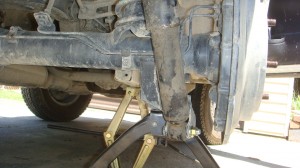
Mission complete. Now we are left with two new issues:

  1. Brake hoses – too short.
  2. Springs too short.

Stay tuned, I will soon document cheaper replacement springs and brake hoses extensions.

Replacing/upgrading rear springs on Suzuki Escudo/Geo Tracker 1.6, 2Door, 96 with 4Door, v6, 2.0

If you have read the first post on changing the front springs you will probably have a giggle at this one. Simple. If you have 20 minutes up your sleeve consider the rear done.

Cost:
$50

In this situation, I took the springs from the 4 door model and installed them into the two door. The target goal was 1″ of lift.

Due to this change not being too high you will not need to replace the shocks or worry about the change in ride.
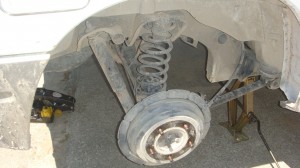
Begin by jacking the rear up:

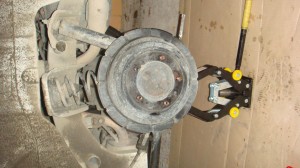
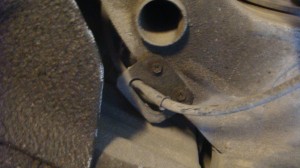
Next up remove the brake hose by removing the two bolts visible:

It will look a little like this:

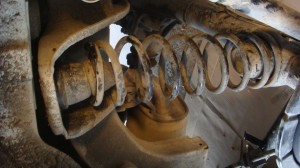
The spring will now drop:

Note for me the spring did not need any convincing to be removed.

Go ahead and remove it:

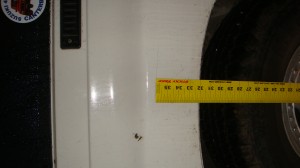
Here we go, the before and after; one inch closer to fitting your target tires:

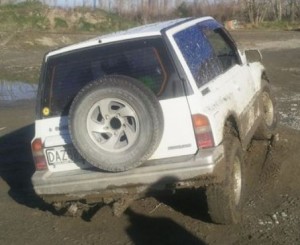
Before (excuse the picture quality):

And after: