Sidekick: Body lift kit

So, the Christmas break is around the corner again and I have run out of time for buying myself a mandatory present.

In response to that I have just purchased this 51mm/2 inch lift kit so I have something to do for the new year’s break. I have landed this via the net. It cost $245 NZD delivered to my door (about $185 USD).

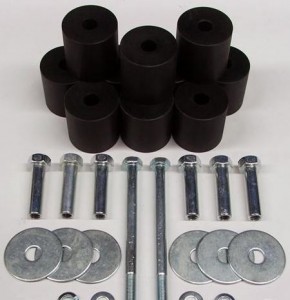
This is whats included in this kit:

The manufacturer description follows:

This bolt in, fully reversible body lift kit for your Suzuki can be easily fitted with basic hand tools. 

Great for making room to fit bigger tyres, or for that extra bit of height to improve the look of your Vitara. 

Kit contains: 

10 CNC machined body lift blocks 
6 Custom CNC machined high tensile zinc plated female tube bolts 
6 Large diameter washers for tube bolts 
2 Long high tensile zinc plated bolts for front mounts 
2 Flat washers 
2 Spring washers 
Detailed fitting instructions 

The reviews are positive all around and this is coming from people that have purchased and installed them.

k.lee88 – lift kit fits mint for 2004 hilux thank u very gud deal
lefthandrides – If you want a body lift kit then buy it off this guy, excellent kit with excellent instructions. Great trade.

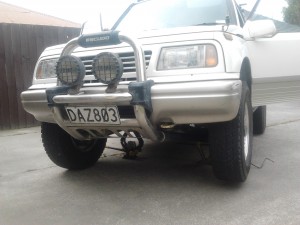
You get the idea. Looking forwards to putting this in on the weekend, however have already identified an issue I’m going to have – the nudge bar is  going to require new brackets to be machined.

Stay tuned.
The little 4 wheel drive little that could

Ever wonder what a Tracker could do versus a Nissan Patrol?

I came across this today morning and simply had to share it.

The Nissan driver probably got a little unlucky –  the diff lockers not engaged or probably something along those lines.

You will notice the the Patrol is also lifted a little.


Suzuki Escudo: Swaybar Removal

Going along with the recommendations of the expert, I have been recommended to remove the sway bar/stabiliser arm on my Suzuki Escudo/Geo Tracker/Sidekick.

The reasoning behind this it to give your Escudo more articulation offroad. I am currently running the v6/4 door model springs front and rear which are a bit stiffer than the standard 3 door. May I say the combo matches perfectly! The suspension used to ride pretty hard on and offroad, the the 4 door springs complement the sway bar removal perfectly which now makes for a softer ride.

This is a fairly straight forward process – simple – 6 bolts simple!

So, let’s begin:

  1. Jack her up! Dont forget the axle stands!
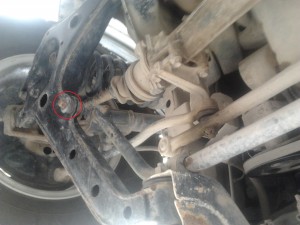
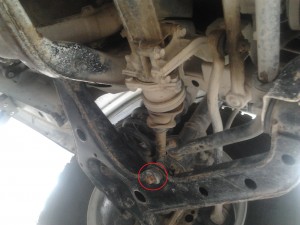
  2. Undo the two bolts – holding the sway bar up – no 14 metric.
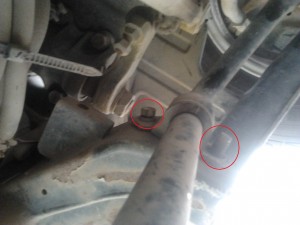
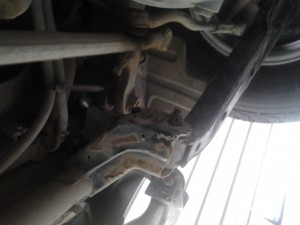
  3. Remove the two nuts and two bolts connected to the bracket holding the sway bar in place, note the No 17 nut had already been removed:
  4. The swaybar will easily come out now. Put the nut and bold back where they belong. Your end result will look like this on both right and left:

So far I have only had the chance to run one quick test which has been brilliant. You now have grip that you didnt otherwise have.