Sidekick: Body lift kit

So, the Christmas break is around the corner again and I have run out of time for buying myself a mandatory present.

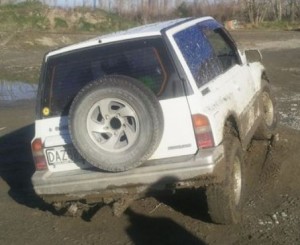
In response to that I have just purchased this 51mm/2 inch lift kit so I have something to do for the new year’s break. I have landed this via the net. It cost $245 NZD delivered to my door (about $185 USD).

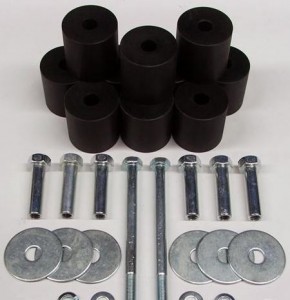
This is whats included in this kit:

The manufacturer description follows:

This bolt in, fully reversible body lift kit for your Suzuki can be easily fitted with basic hand tools. 

Great for making room to fit bigger tyres, or for that extra bit of height to improve the look of your Vitara. 

Kit contains: 

10 CNC machined body lift blocks 
6 Custom CNC machined high tensile zinc plated female tube bolts 
6 Large diameter washers for tube bolts 
2 Long high tensile zinc plated bolts for front mounts 
2 Flat washers 
2 Spring washers 
Detailed fitting instructions 

The reviews are positive all around and this is coming from people that have purchased and installed them.

k.lee88 – lift kit fits mint for 2004 hilux thank u very gud deal
lefthandrides – If you want a body lift kit then buy it off this guy, excellent kit with excellent instructions. Great trade.

You get the idea. Looking forwards to putting this in on the weekend, however have already identified an issue I’m going to have – the nudge bar is  going to require new brackets to be machined.

Stay tuned.
Replacing/Upgrading rear shocks on Suzuki Escudo/Geo Tracker 1.6, 2Door

Being in New Zealand, we have a fair amount of Holden’s on the road. Worldwide you will more commonly recognize the manufacturer as Vauxhall.

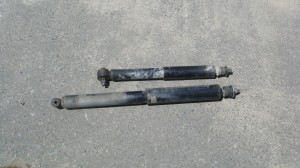
After a bit of reading I found out that the VL Commodore shocks are longer and provide more down travel and softer ride.

The total cost:
Shocks – $1 on Trademe (online auction).
Delivery – $15
Nuts and bolts – $10 Local shop

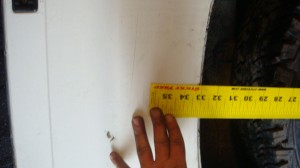
Objective:  13cm more drop.

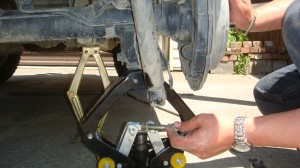
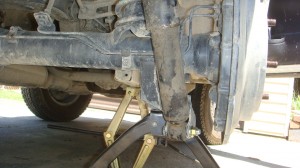
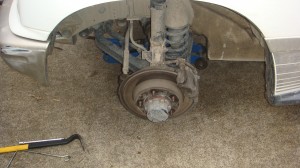
Let’s begin; jack her up:

Note I used two jacks to maintain the height of the diff.

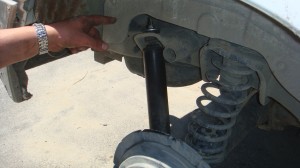
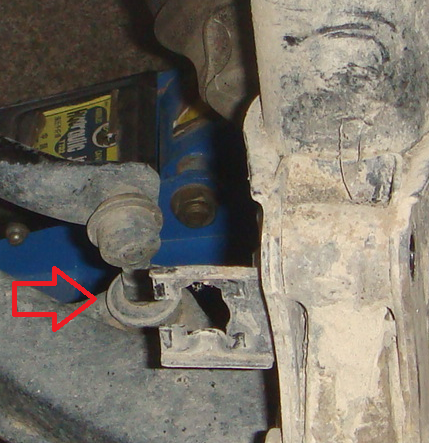
The two pictures below only show the new shock installed but the principle is to remove the nut and bolt at the bottom, and up top the two nuts/or one lock nut.
Check out the drop 🙂

Mission complete. Now we are left with two new issues:

  1. Brake hoses – too short.
  2. Springs too short.

Stay tuned, I will soon document cheaper replacement springs and brake hoses extensions.

Replacing/upgrading rear springs on Suzuki Escudo/Geo Tracker 1.6, 2Door, 96 with 4Door, v6, 2.0

If you have read the first post on changing the front springs you will probably have a giggle at this one. Simple. If you have 20 minutes up your sleeve consider the rear done.

Cost:
$50

In this situation, I took the springs from the 4 door model and installed them into the two door. The target goal was 1″ of lift.

Due to this change not being too high you will not need to replace the shocks or worry about the change in ride.
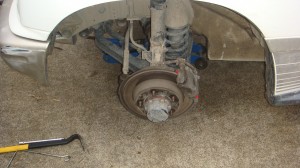
Begin by jacking the rear up:

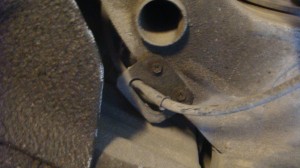
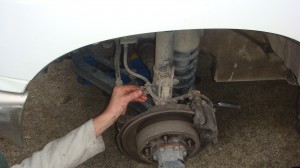
Next up remove the brake hose by removing the two bolts visible:

It will look a little like this:

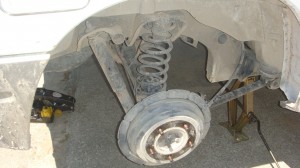
The spring will now drop:

Note for me the spring did not need any convincing to be removed.

Go ahead and remove it:

Here we go, the before and after; one inch closer to fitting your target tires:

Before (excuse the picture quality):

And after:

Replacing/upgrading front springs on Suzuki Escudo/Geo Tracker 1.6, 2Door, 96 with 4Door, v6, 2.0


Cost:
$100 – Front V6, 4 Door Trackers Springs.

Before getting into the nitty gritty of the steps, I would like to bunch this up in a summary.
The question this blog will answer is; Does replacing the front springs of you 2 door Tracker with springs from a 4 door give you lift? simply put, yes and there are three considerations.

  1. The 4 door springs are a little longer, matter of about 2 cm or so.
  2. The 4 door springs are harder.
  3. Factory suspension on these rigs has the tendency to sag on the front.

So what about the stiffness and suspension geomery?
Stiffness:
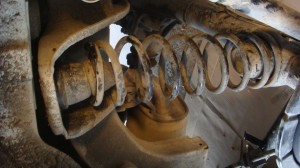
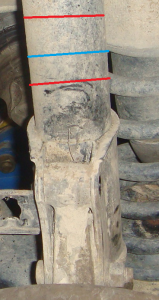
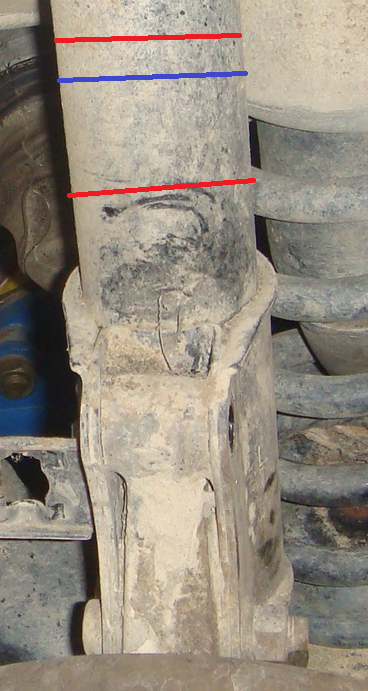
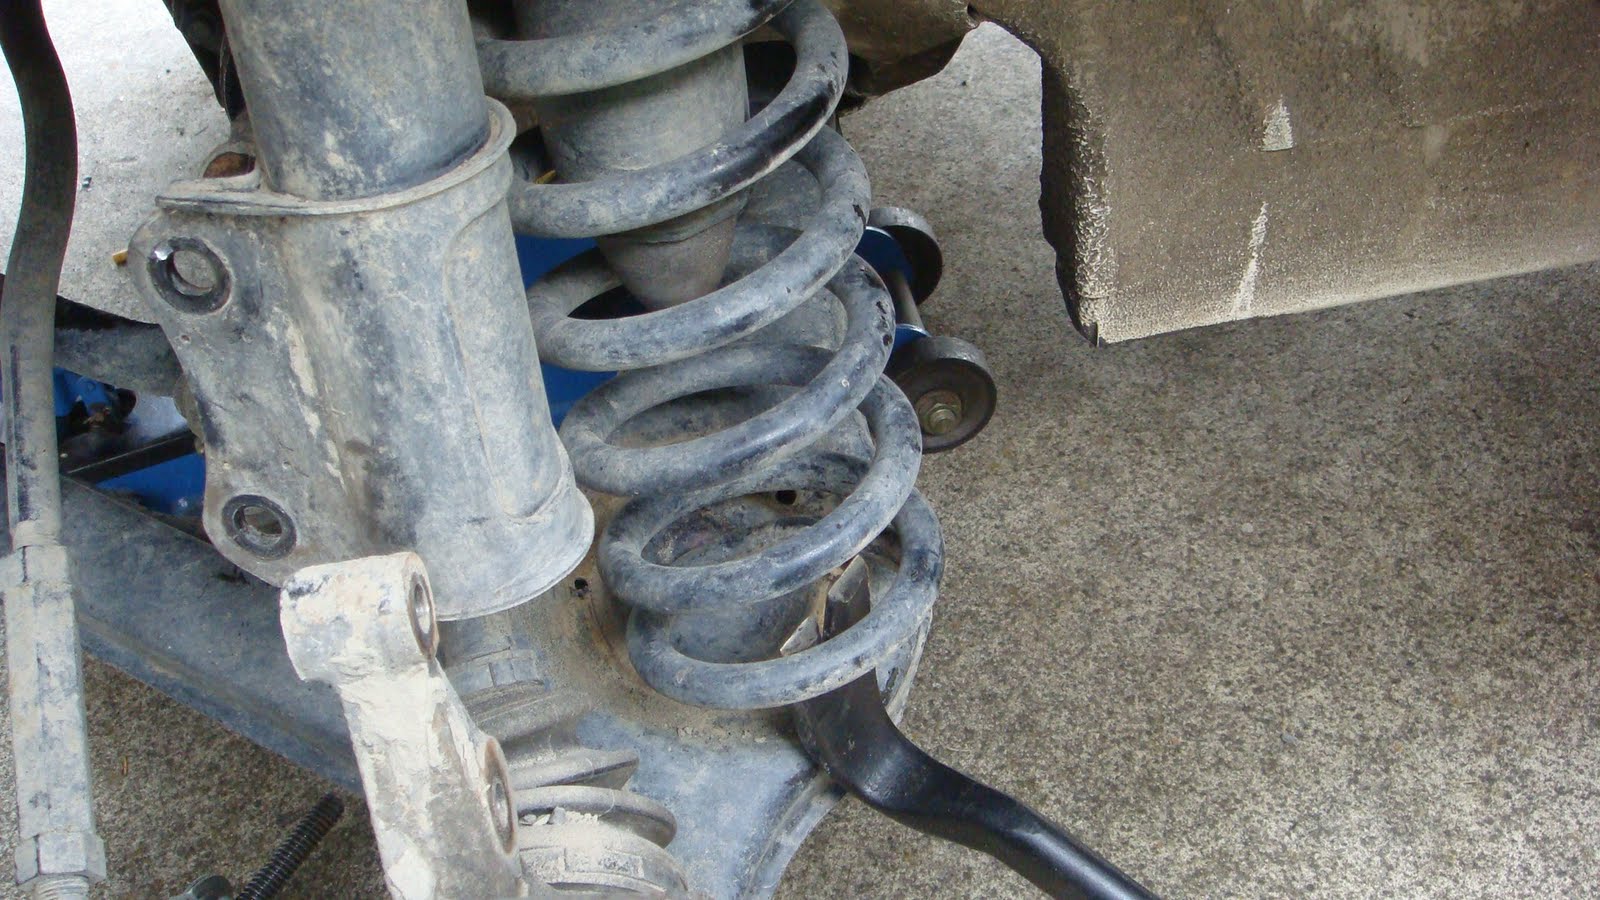
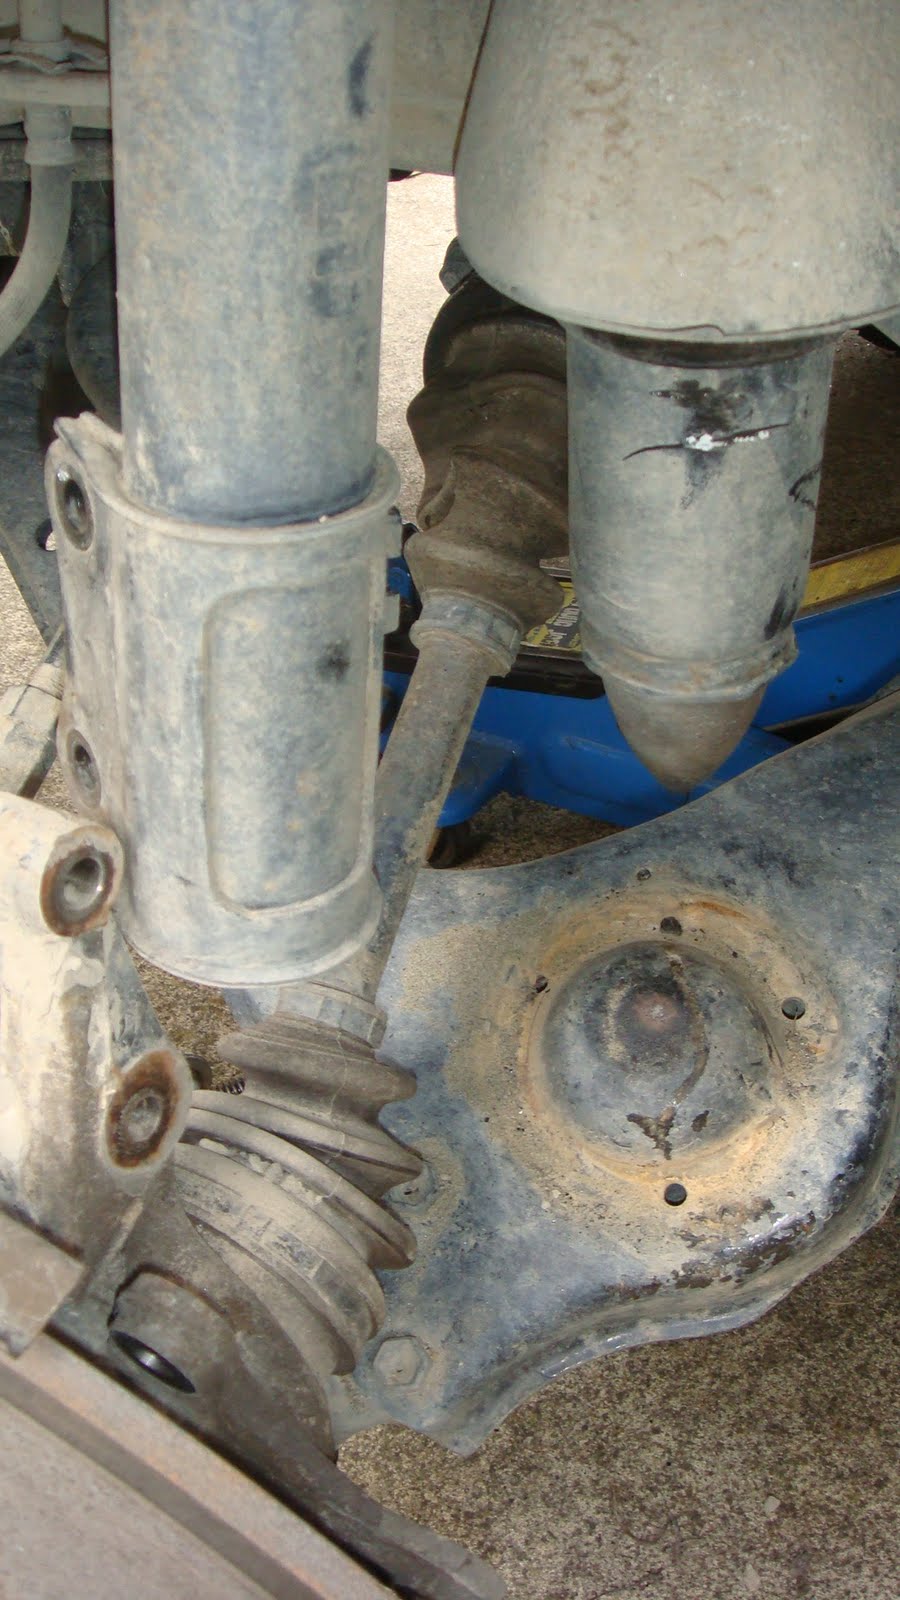
Given the slightly raised suspension and thicker spring one would expect to have a stiffer ride. In my situation whereby the original springs had sagged, the car was riding lower and the strut would have smaller play. This in turn would result in the car “topping up” (please note the pic below).

The desired outcome would imply most amount of play in both directions and give you a little bit more height.

The technical specs behind the springs are:
4 dr 4WD, Front = 508.7lbs, 227mm long
Rear = 173.4lbs, 250mm
4 dr 2WD, Front = 508.7lbs 220mm
Rear = 173.4lbs, 238mm

2 dr 4WD, Front = 452.8lbs, 227mm
Rear = 156.5lbs, 250mm
2dr 2WD, Front = 452.8lbs, 220mm
Rear = 156.5lbs, 238mm

Lets begin.
Ensure your car is up on the jack, secured and your brakes are on.
Remove your front wheel.

Undo the two bolts holding the brake caliper in place. Note these are in the rear of where the picture is showing.

Remove your clip holding your brake cable.

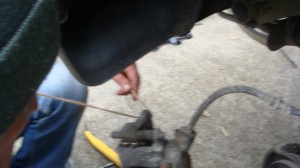
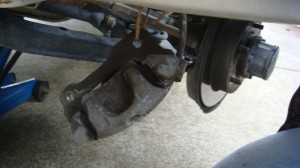
Tie your caliper with string/cable ties out of the way.

Loosen the two bolts holding your strut into place. Size 17 Metric.
Do not remove the bolts! Springs hurt.. Once loosened you will put a jack under your A arm to slowly release the spring compression.

Slowly allow the A arm to drop. Note the second jack used to drop the A arm.

Remove support arm. One bold underneath. Ensure to counter from top.

Once your A arm is dropped remove your spring. I used a crowbar.

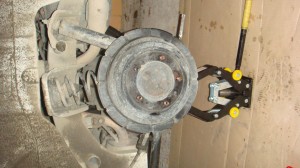
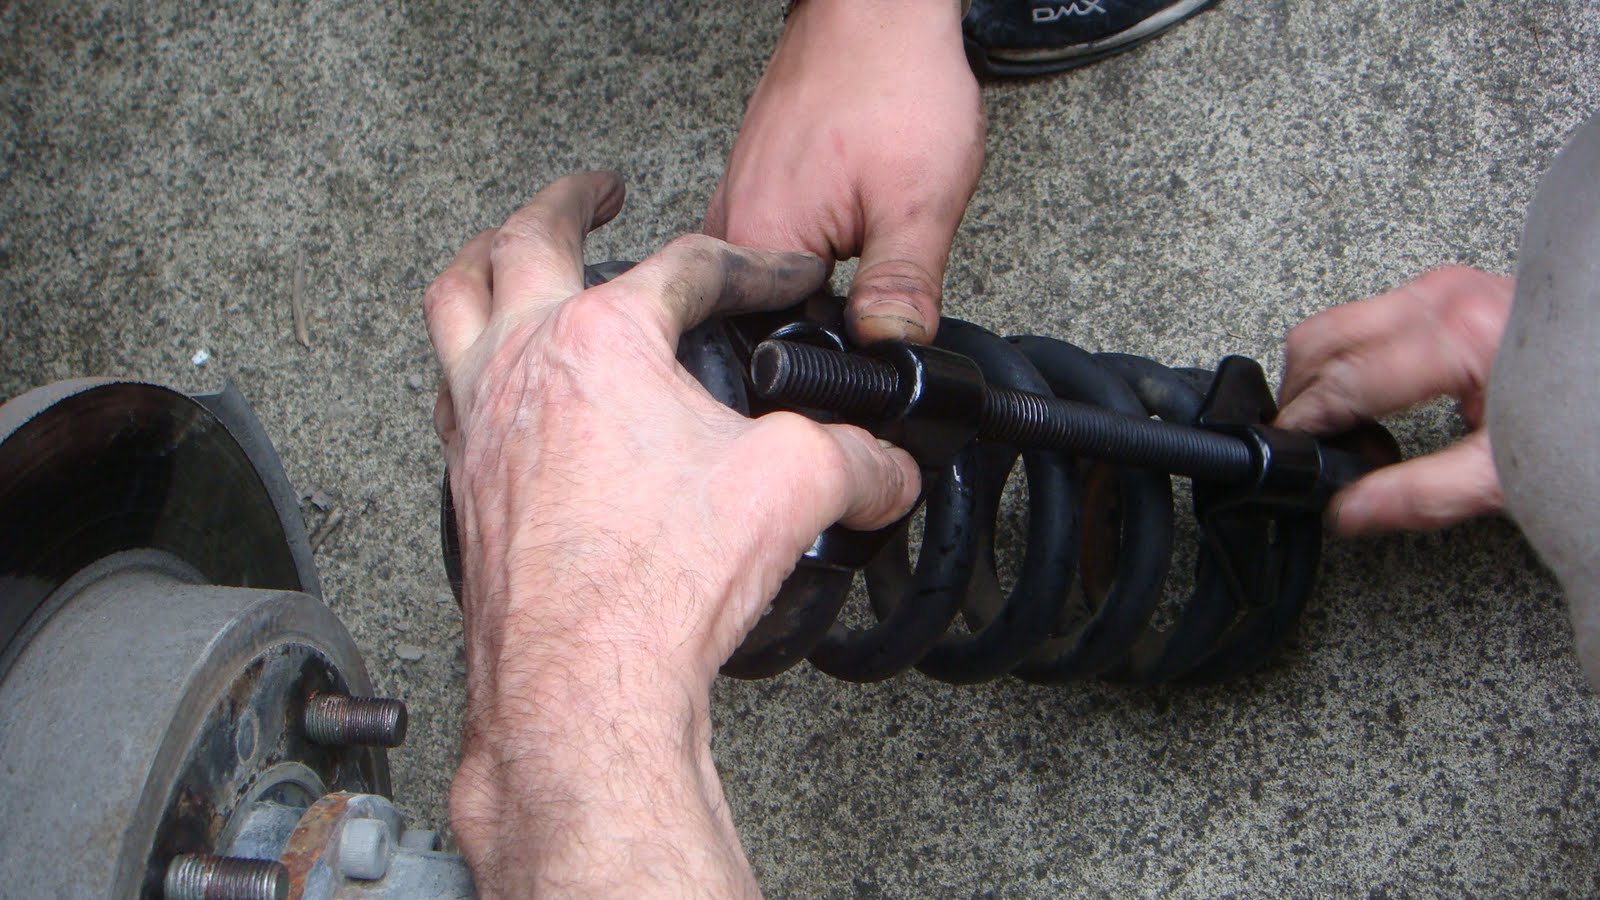
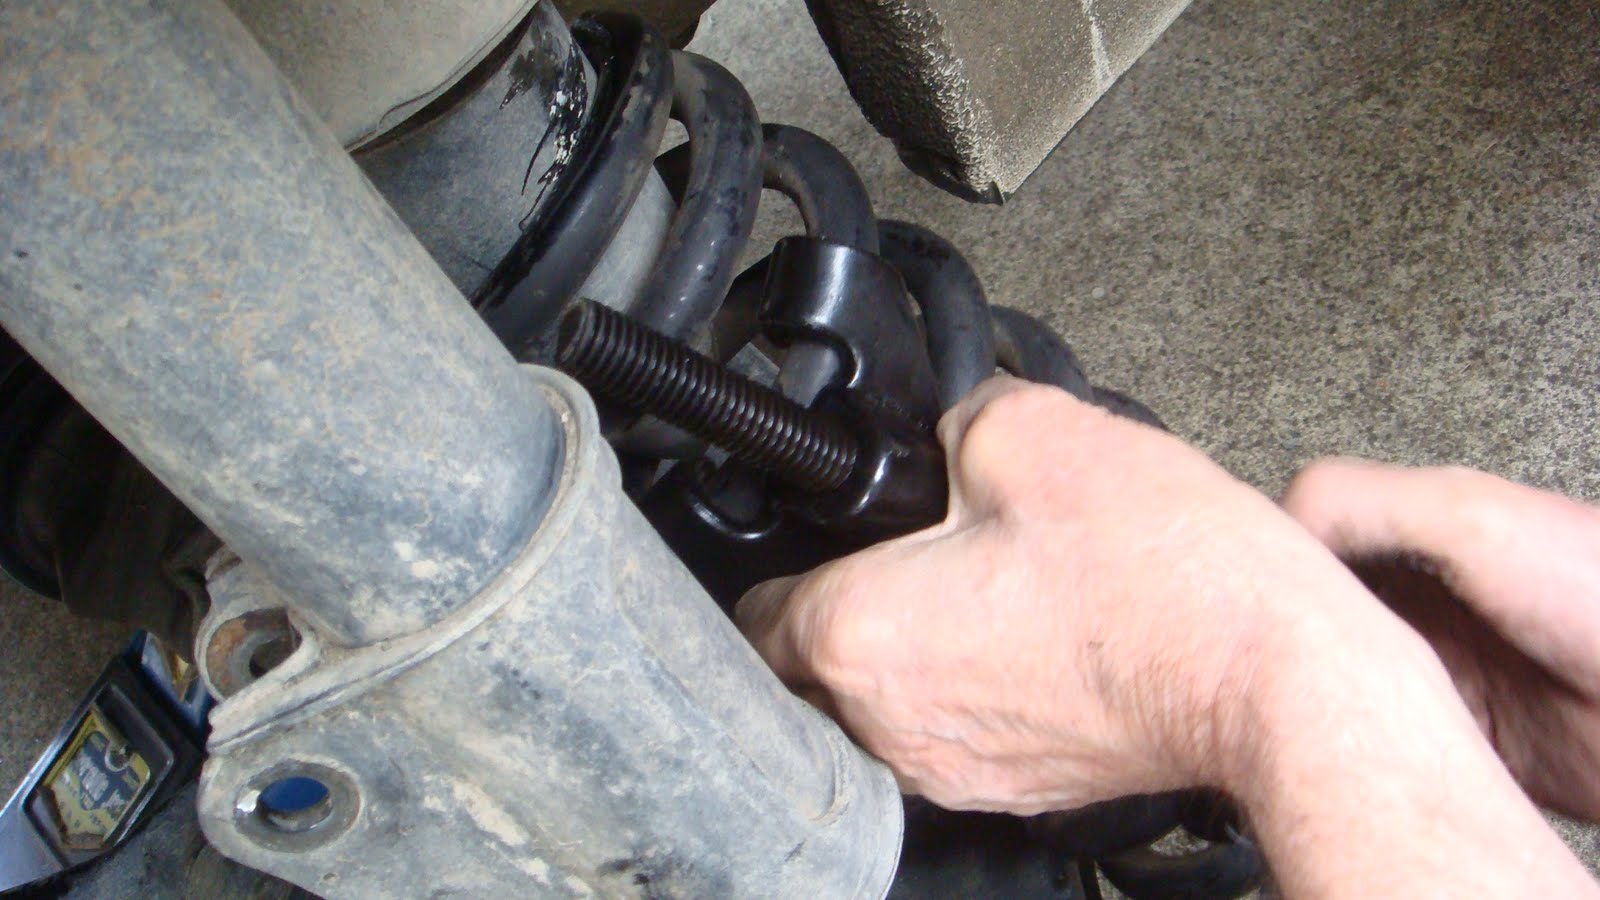
Insert new spring. This is a tricky procedure where you normally have to convince it a little. If you have a spring compressor use it; otherwise it comes down to brute force.
The picture details with a spring compressor.

Now that your new spring is in, you will need to begin reassembly.
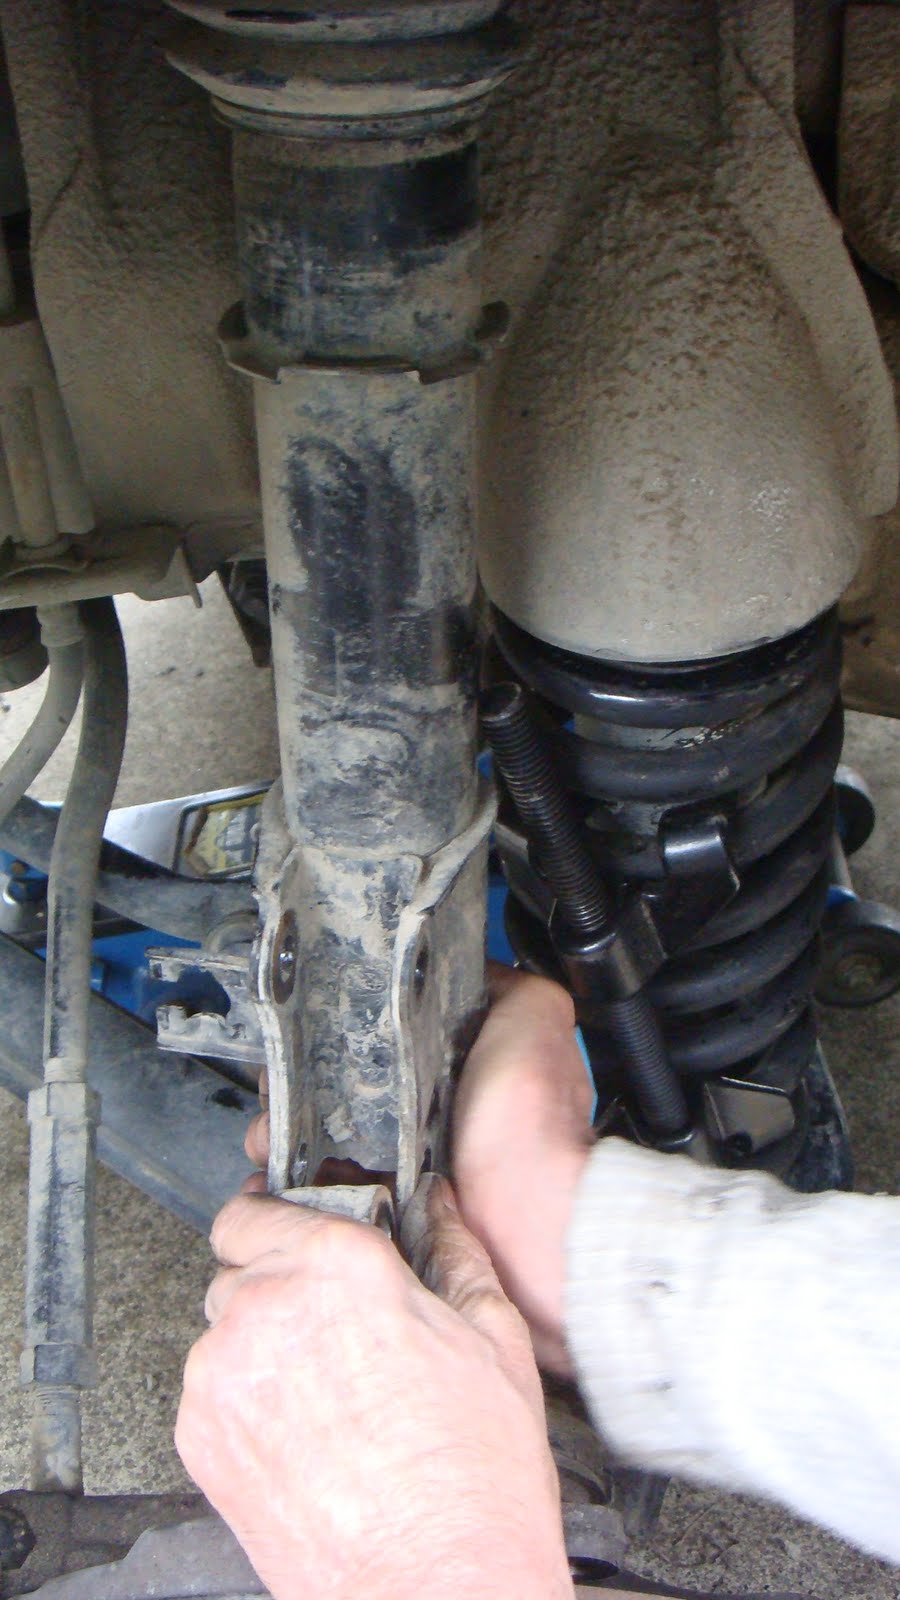
Reconnect your support arm.

Jack up the A arm to reconnect your strut.

Note I didnt take a picture of this so the brake caliper is on in the picture but that will be the next to re mount.

You have just upgraded your spring and achieved about 4cm of lift.
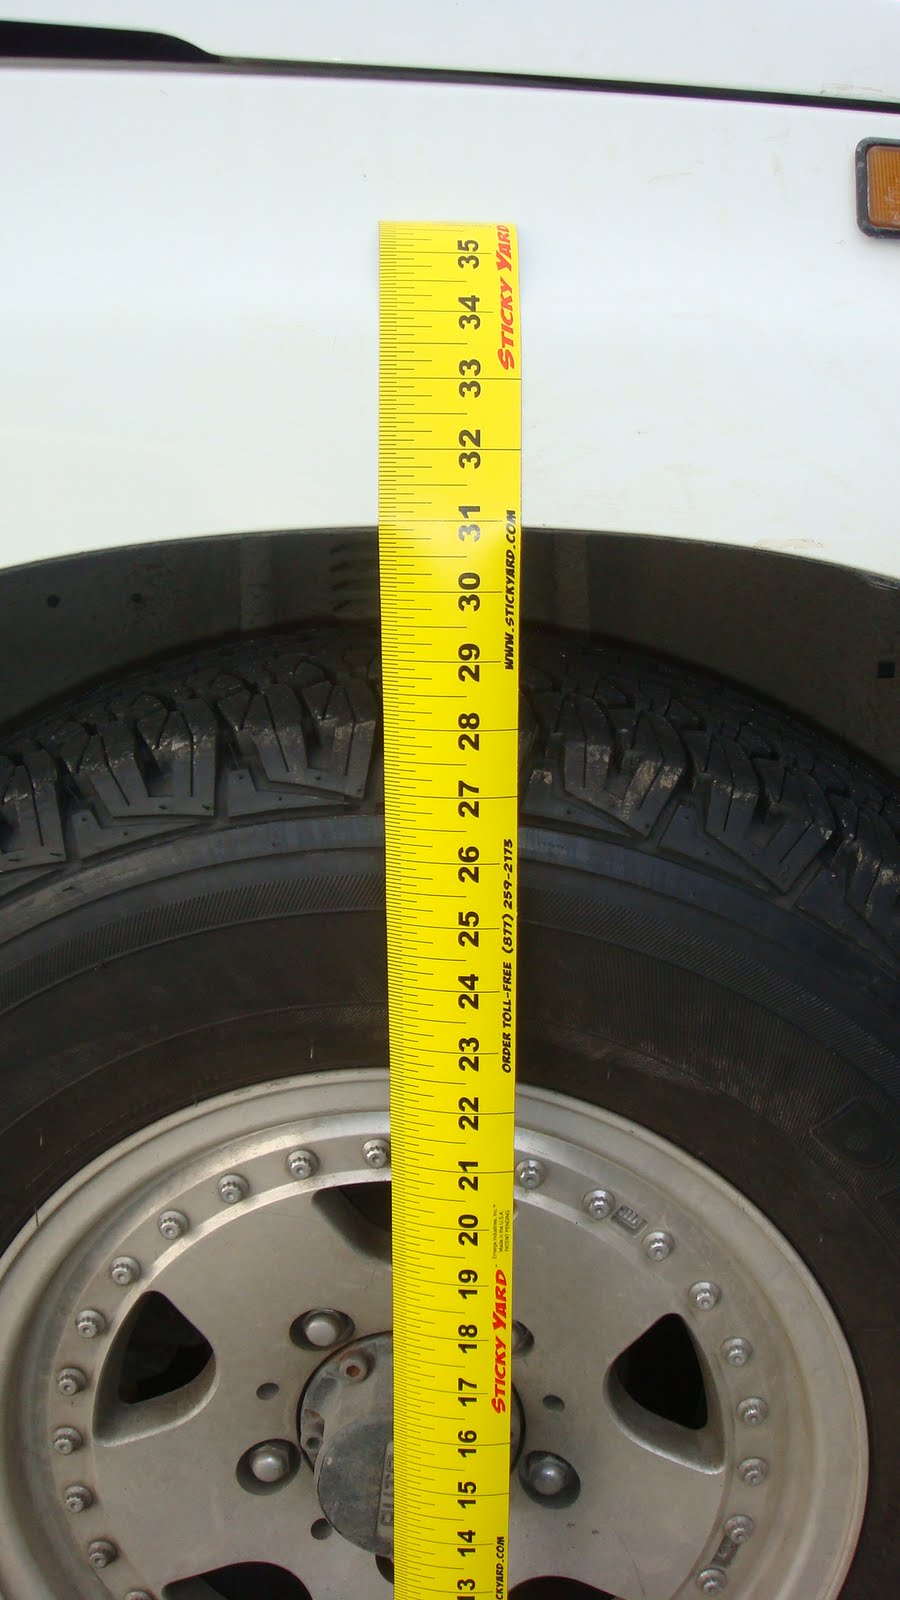
Note the before:

And after: