Cost:
$100 – Front V6, 4 Door Trackers Springs.
Before getting into the nitty gritty of the steps, I would like to bunch this up in a summary.
The question this blog will answer is; Does replacing the front springs of you 2 door Tracker with springs from a 4 door give you lift? simply put, yes and there are three considerations.
- The 4 door springs are a little longer, matter of about 2 cm or so.
- The 4 door springs are harder.
- Factory suspension on these rigs has the tendency to sag on the front.
So what about the stiffness and suspension geomery?
Stiffness:
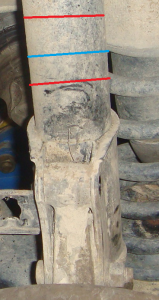
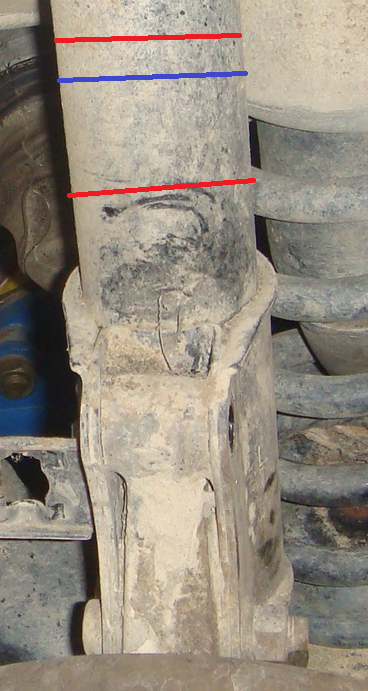
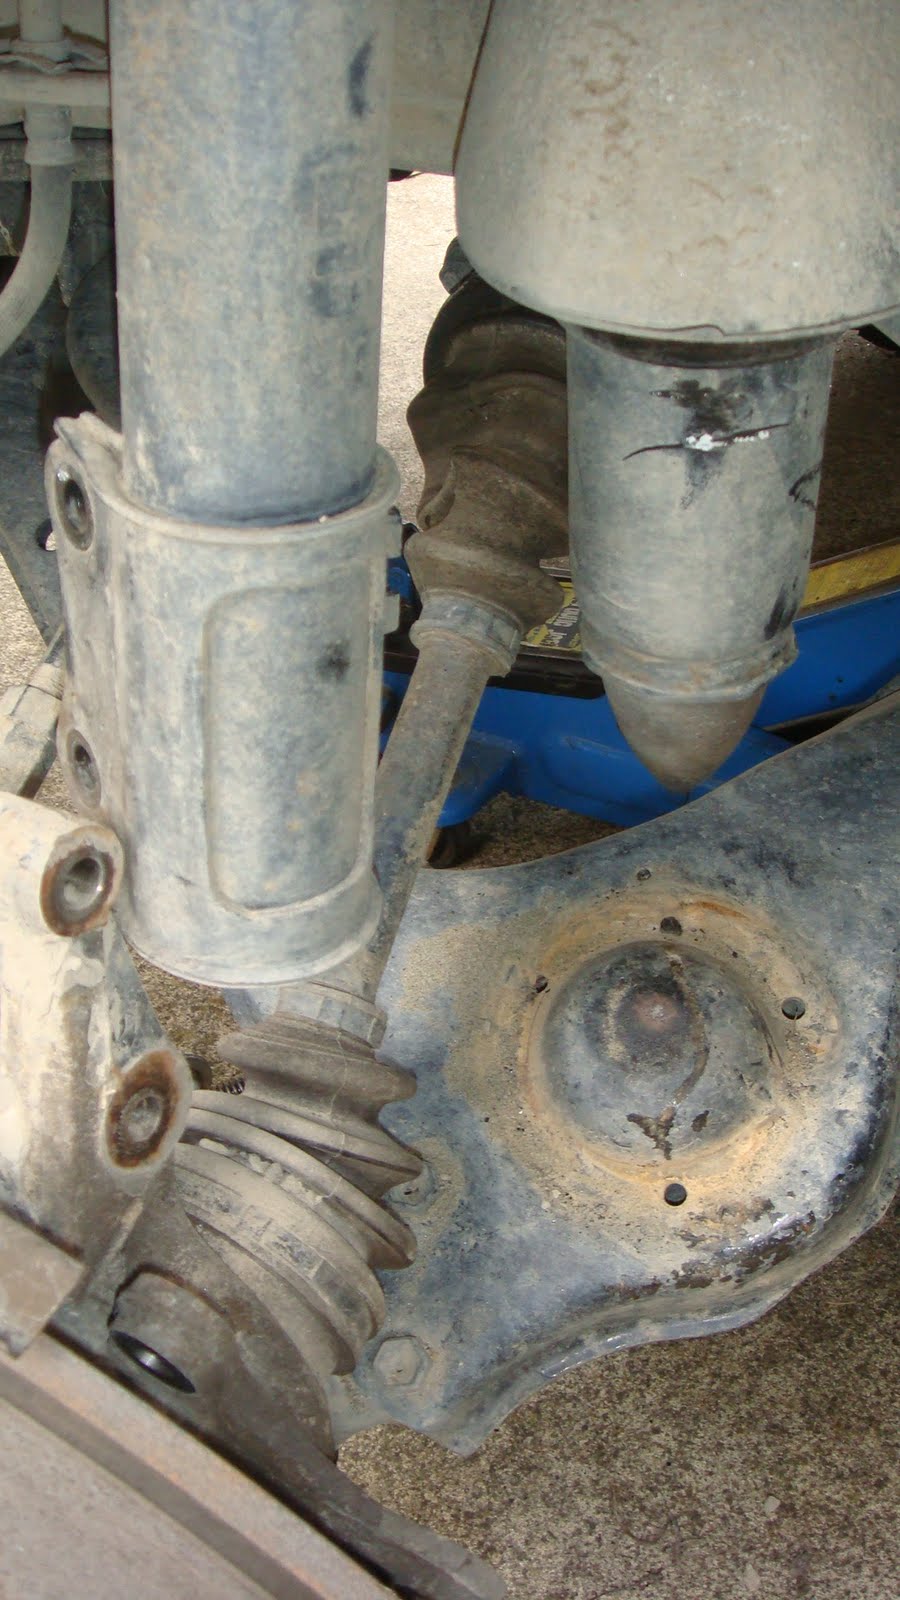
Given the slightly raised suspension and thicker spring one would expect to have a stiffer ride. In my situation whereby the original springs had sagged, the car was riding lower and the strut would have smaller play. This in turn would result in the car “topping up” (please note the pic below).
The desired outcome would imply most amount of play in both directions and give you a little bit more height.
The technical specs behind the springs are:
4 dr 4WD, Front = 508.7lbs, 227mm long
Rear = 173.4lbs, 250mm
4 dr 2WD, Front = 508.7lbs 220mm
Rear = 173.4lbs, 238mm
2 dr 4WD, Front = 452.8lbs, 227mm
Rear = 156.5lbs, 250mm
2dr 2WD, Front = 452.8lbs, 220mm
Rear = 156.5lbs, 238mm
Lets begin.
Ensure your car is up on the jack, secured and your brakes are on.
Remove your front wheel.
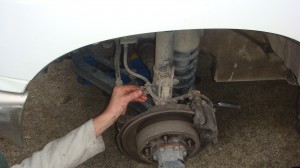
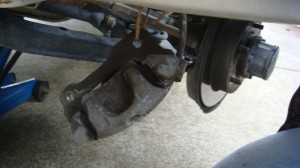
Undo the two bolts holding the brake caliper in place. Note these are in the rear of where the picture is showing.
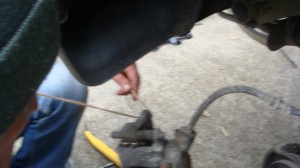
Remove your clip holding your brake cable.
Loosen the two bolts holding your strut into place. Size 17 Metric.
Do not remove the bolts! Springs hurt.. Once loosened you will put a jack under your A arm to slowly release the spring compression.
Slowly allow the A arm to drop. Note the second jack used to drop the A arm.
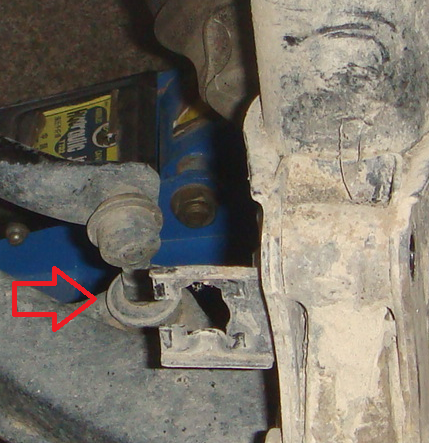
Remove support arm. One bold underneath. Ensure to counter from top.
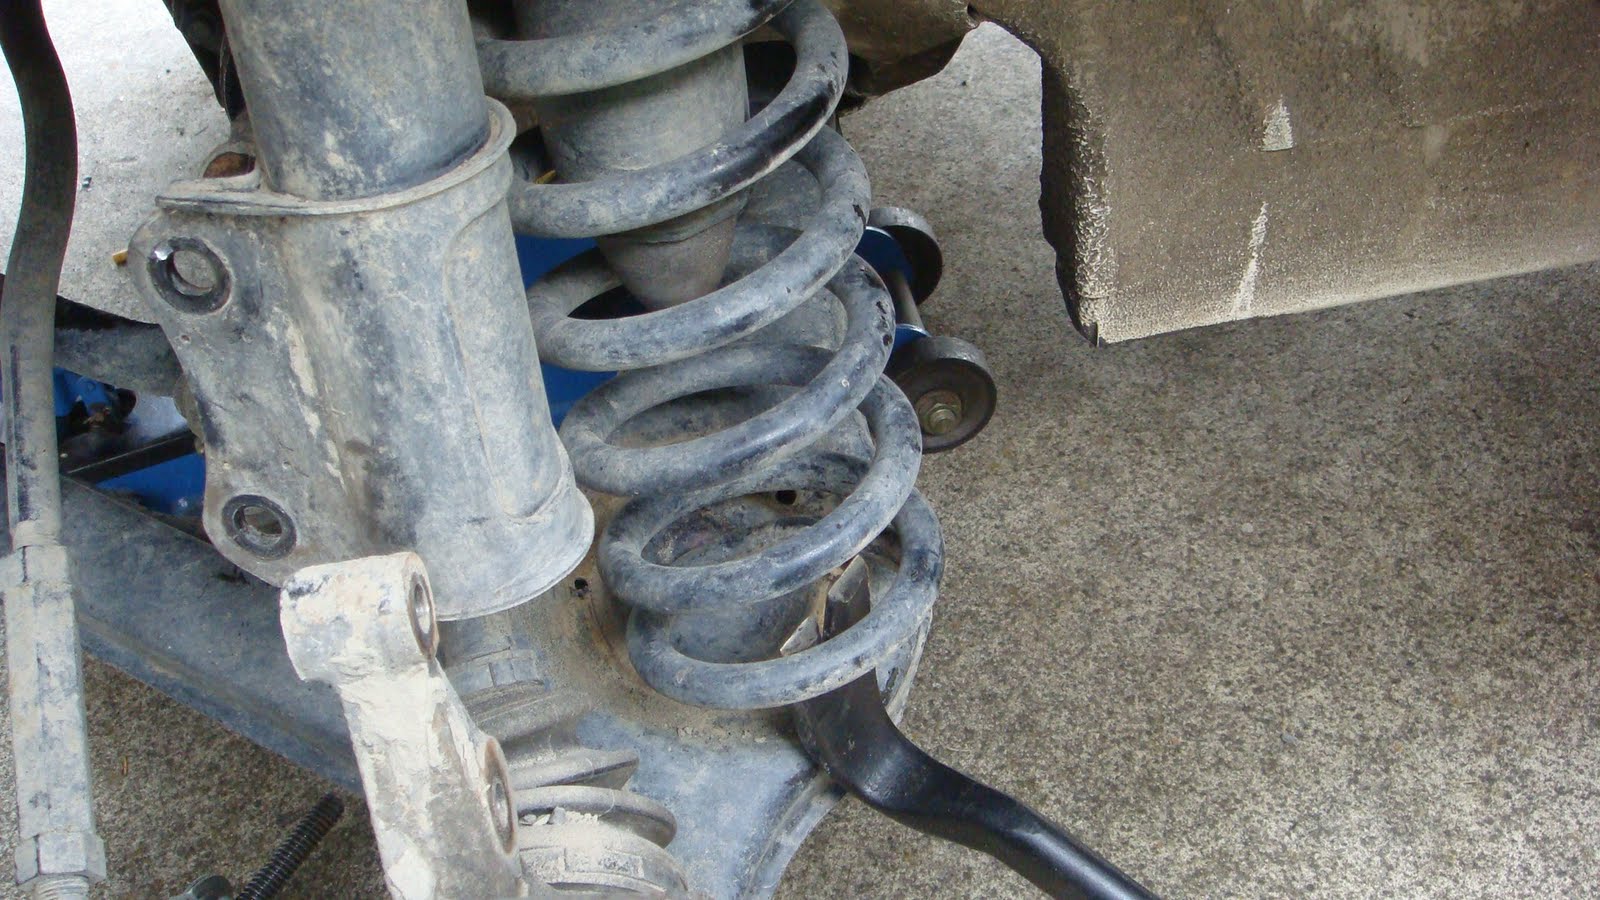
Once your A arm is dropped remove your spring. I used a crowbar.
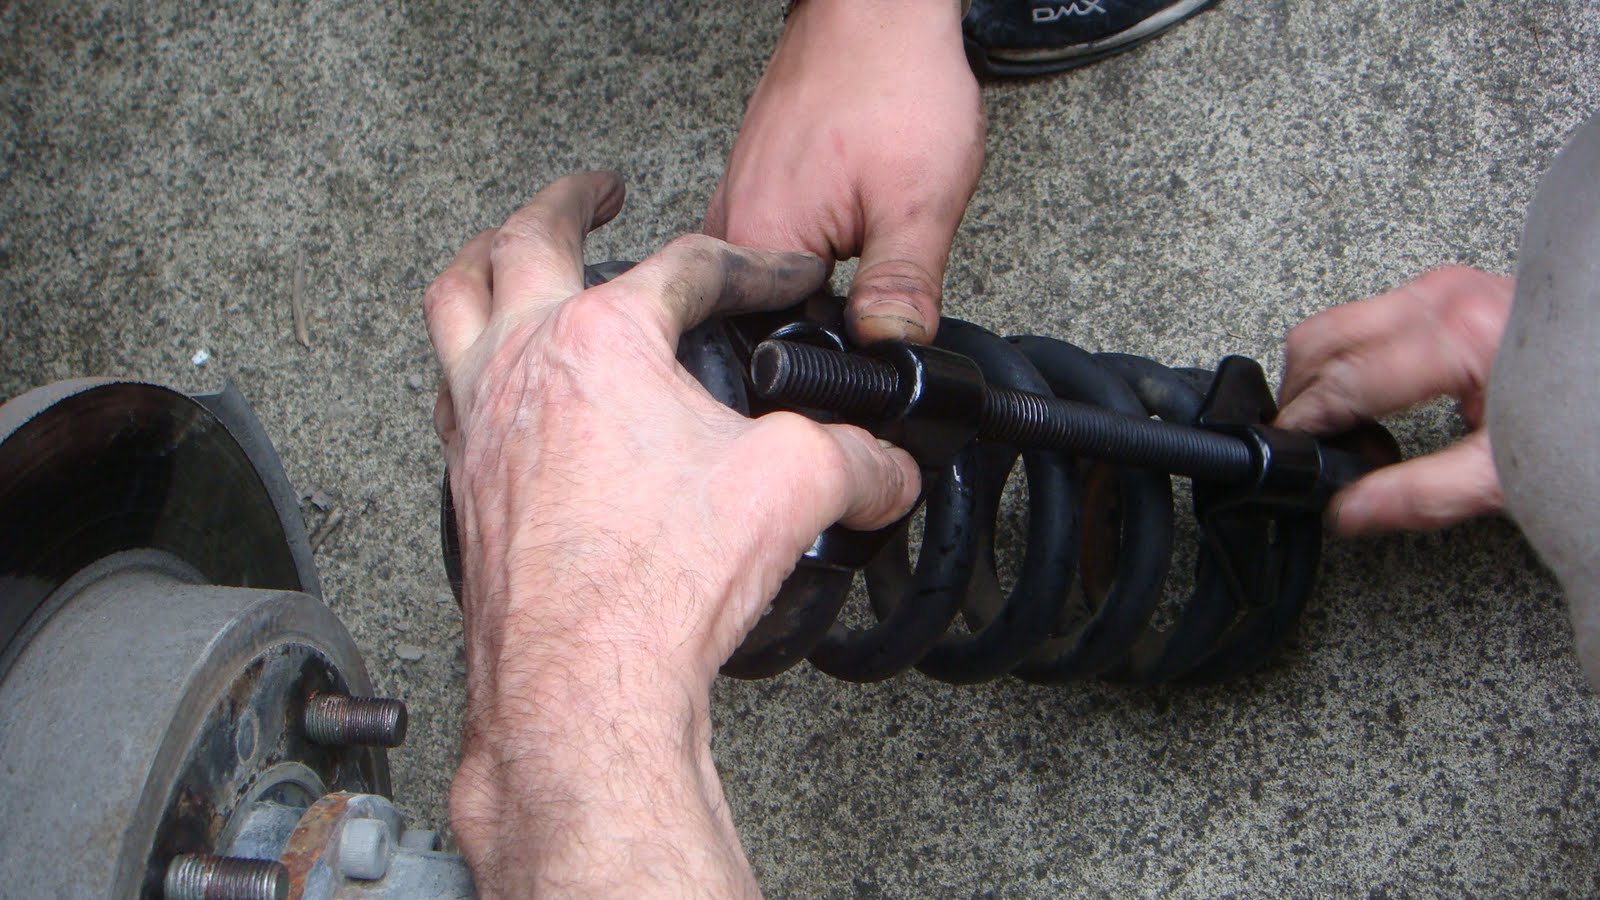
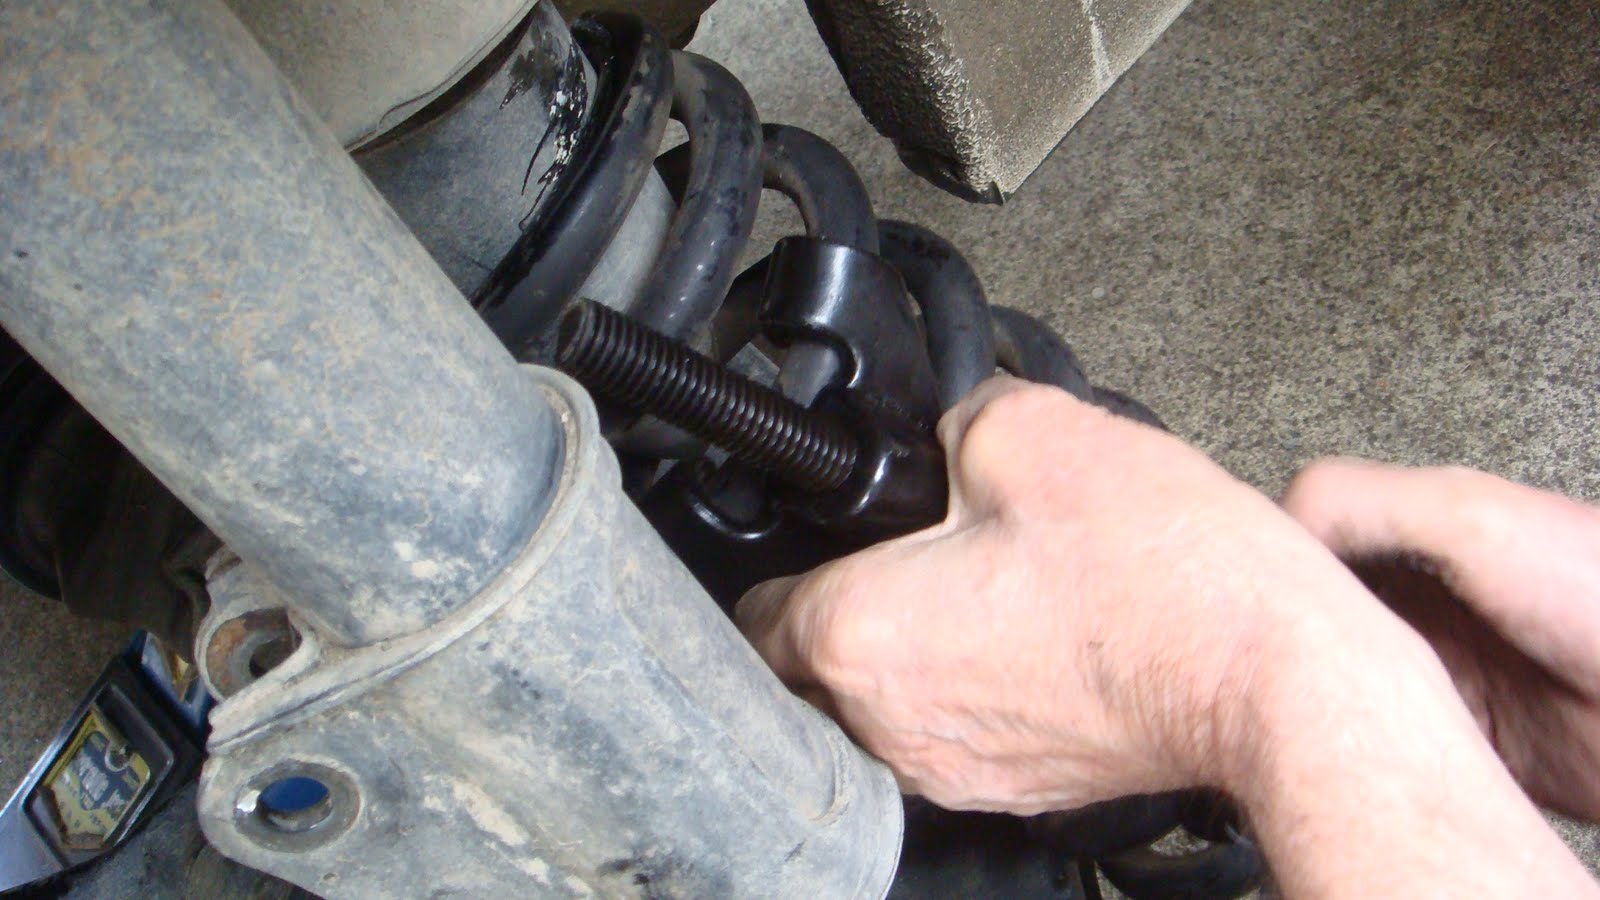
Insert new spring. This is a tricky procedure where you normally have to convince it a little. If you have a spring compressor use it; otherwise it comes down to brute force.
The picture details with a spring compressor.
Now that your new spring is in, you will need to begin reassembly.
Reconnect your support arm.
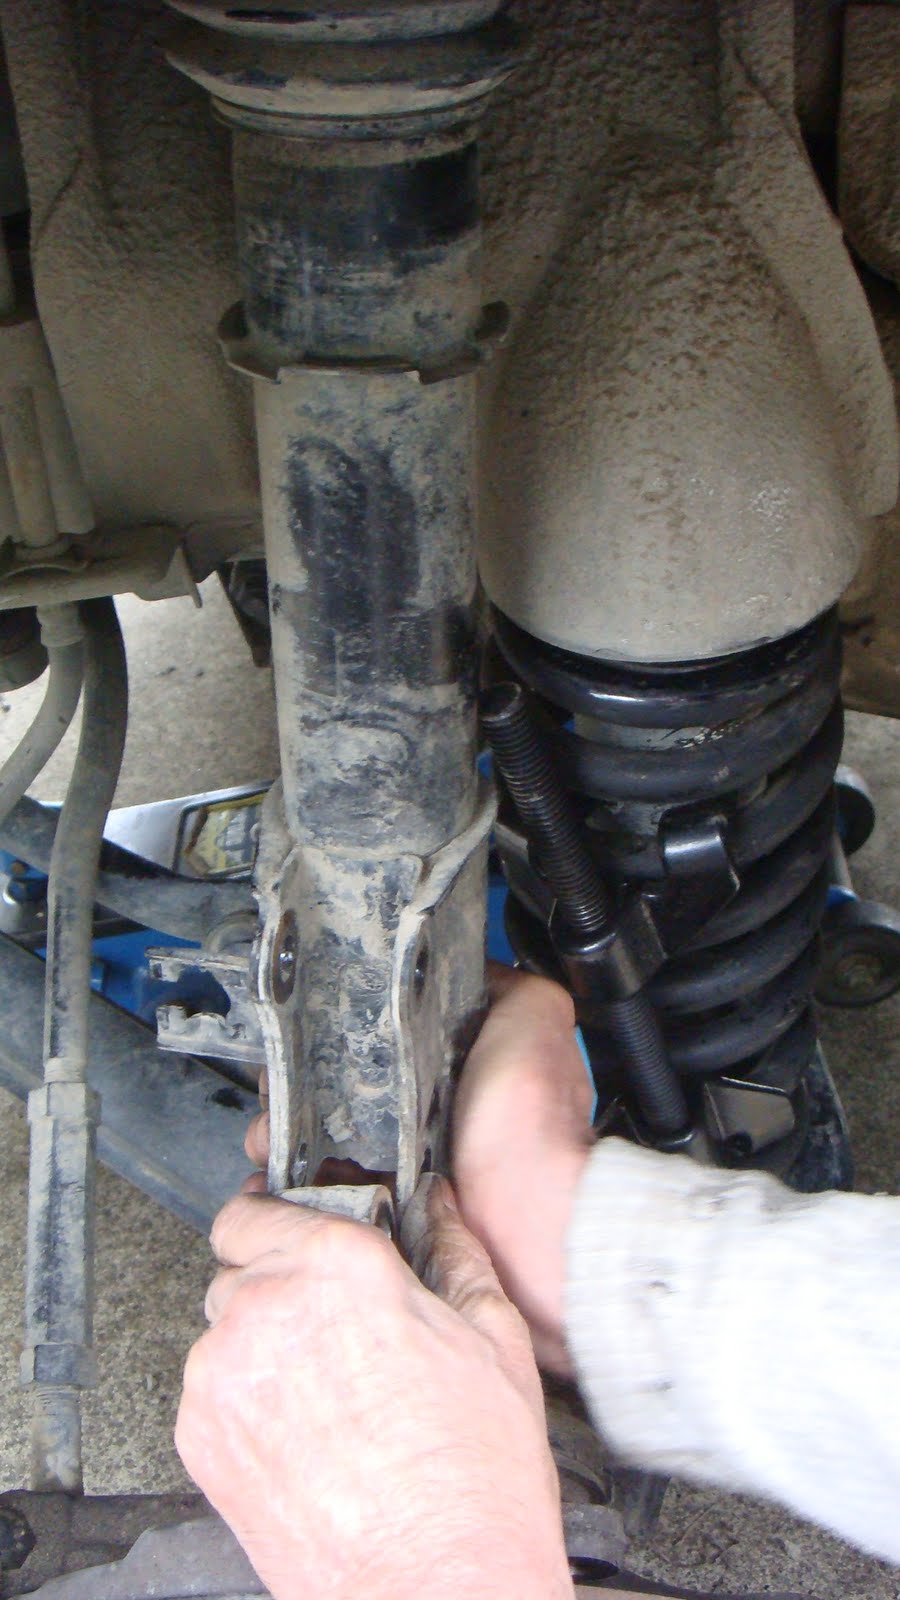
Jack up the A arm to reconnect your strut.
Note I didnt take a picture of this so the brake caliper is on in the picture but that will be the next to re mount.
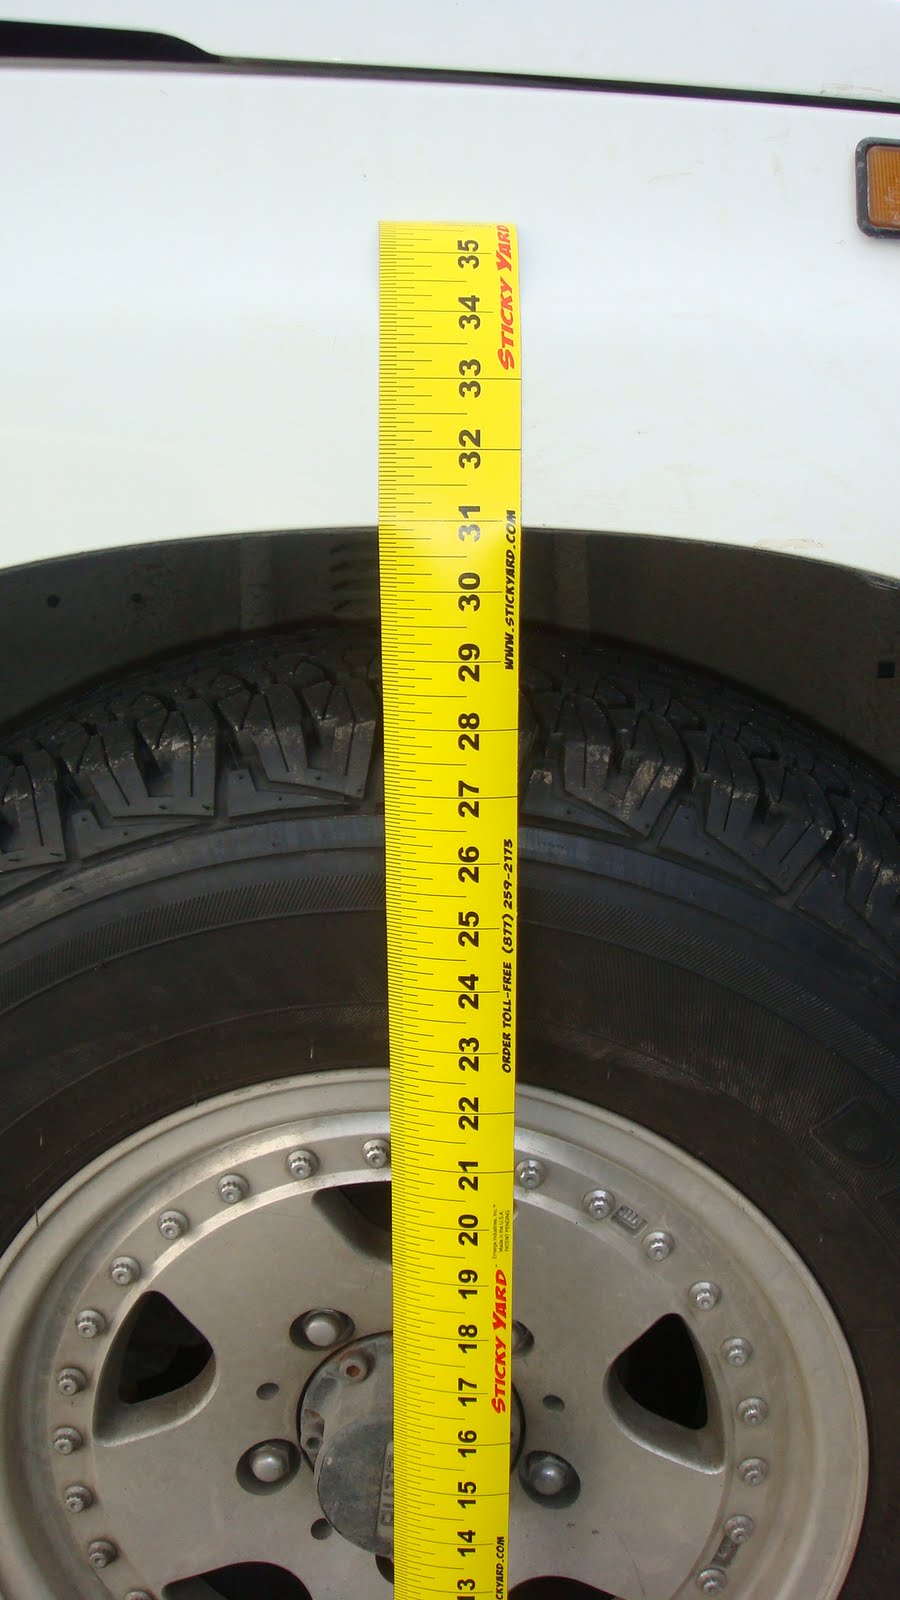
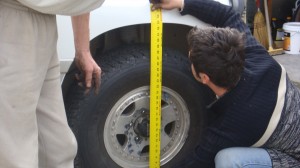
You have just upgraded your spring and achieved about 4cm of lift.
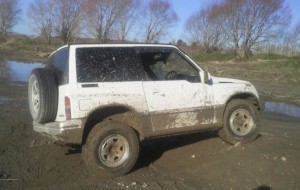
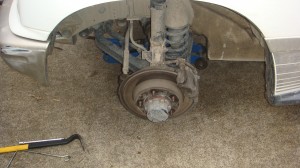
Note the before:
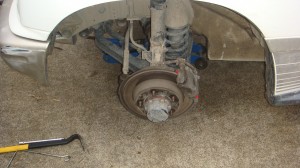
And after:



That is an excellent pictorial—Do you have others—Like changing timing belt—Pulling the head etc—ThanksHappy
Holy ccosnie data batman. Lol!
Great post with lots of importnat stuff.
Summer is just around the corner, will be putting more time into the Tonka very soon.. 🙂
Great stuff, you heepld me out so much!
I’m hoping to get a fair bit more work pretty soon 🙂