Differentials, Transfer Box, Tranny Fluids: 96 Tracker, Geo, Escudo

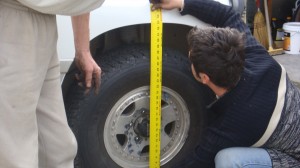
Hi, So a question came up as to what fluids would be required for differentials, Transfer case, and Tranny fluids:.

A very good answer came through:

PJF Writes; For all of the above components, I am using Chevron Delo Gear Lubricant ESI 80W-90 because my 1989 Sidekick owner’s manual recommends a SAE 80W-90 gear lubricant where temperatures do not drop below minus 4 degrees Fahrenheit (-20 degrees C).

I am told that it is copper-alloy-friendly because it contains less sulfur than other GL-5 oils and provides extreme pressure (EP) protection with a borate additive. I will know after I receive results back from an oil analysis lab in a week or two. After about 1,000 miles, I will test a used oil sample for wear.

If you are not convinced about the copper-alloy-friendliness of this oil, I recommend GL-4 oil, such as Redline MT-90, for your transmission and transfer case.

For 2001 Trackers and older, GM recommends GM #12346190 transmission fluid. For 2002 Trackers and newer, GM recommends GM #12345349 transmission fluid. Consult your owner’s manual to make sure.

Given the temperature at your location, he goes to say; Per my 1989 Sidekick manual, any GL-4 80W-90 or 75W-90 transmission fluid will do depending on the climate. The Tracker manuals specify the GM transmission fluids per my earlier post.


Hope that helps.
Suzuki Escudo: Swaybar Removal

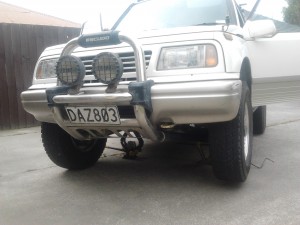
Going along with the recommendations of the expert, I have been recommended to remove the sway bar/stabiliser arm on my Suzuki Escudo/Geo Tracker/Sidekick.

The reasoning behind this it to give your Escudo more articulation offroad. I am currently running the v6/4 door model springs front and rear which are a bit stiffer than the standard 3 door. May I say the combo matches perfectly! The suspension used to ride pretty hard on and offroad, the the 4 door springs complement the sway bar removal perfectly which now makes for a softer ride.

This is a fairly straight forward process – simple – 6 bolts simple!

So, let’s begin:

  1. Jack her up! Dont forget the axle stands!
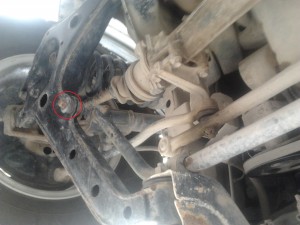
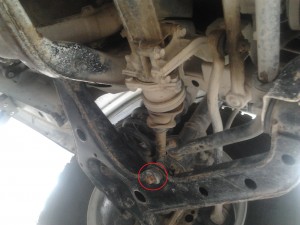
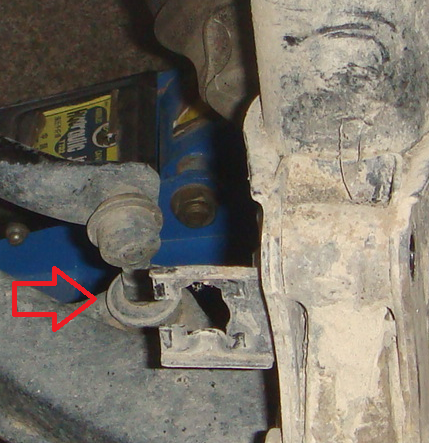
  2. Undo the two bolts – holding the sway bar up – no 14 metric.
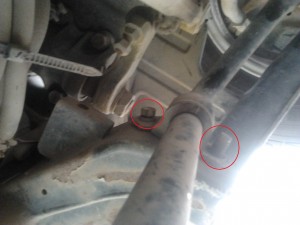
  3. Remove the two nuts and two bolts connected to the bracket holding the sway bar in place, note the No 17 nut had already been removed:
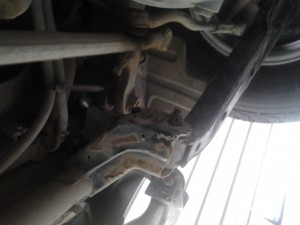
  4. The swaybar will easily come out now. Put the nut and bold back where they belong. Your end result will look like this on both right and left:

So far I have only had the chance to run one quick test which has been brilliant. You now have grip that you didnt otherwise have.

Replacing/upgrading front springs on Suzuki Escudo/Geo Tracker 1.6, 2Door, 96 with 4Door, v6, 2.0


Cost:
$100 – Front V6, 4 Door Trackers Springs.

Before getting into the nitty gritty of the steps, I would like to bunch this up in a summary.
The question this blog will answer is; Does replacing the front springs of you 2 door Tracker with springs from a 4 door give you lift? simply put, yes and there are three considerations.

  1. The 4 door springs are a little longer, matter of about 2 cm or so.
  2. The 4 door springs are harder.
  3. Factory suspension on these rigs has the tendency to sag on the front.

So what about the stiffness and suspension geomery?
Stiffness:
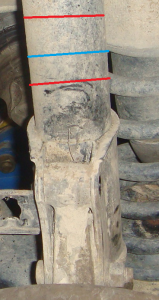
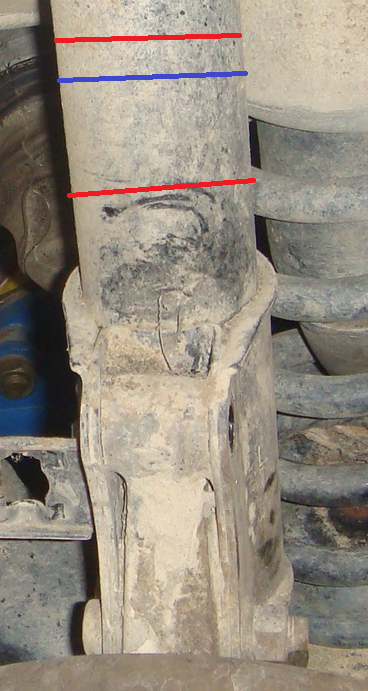
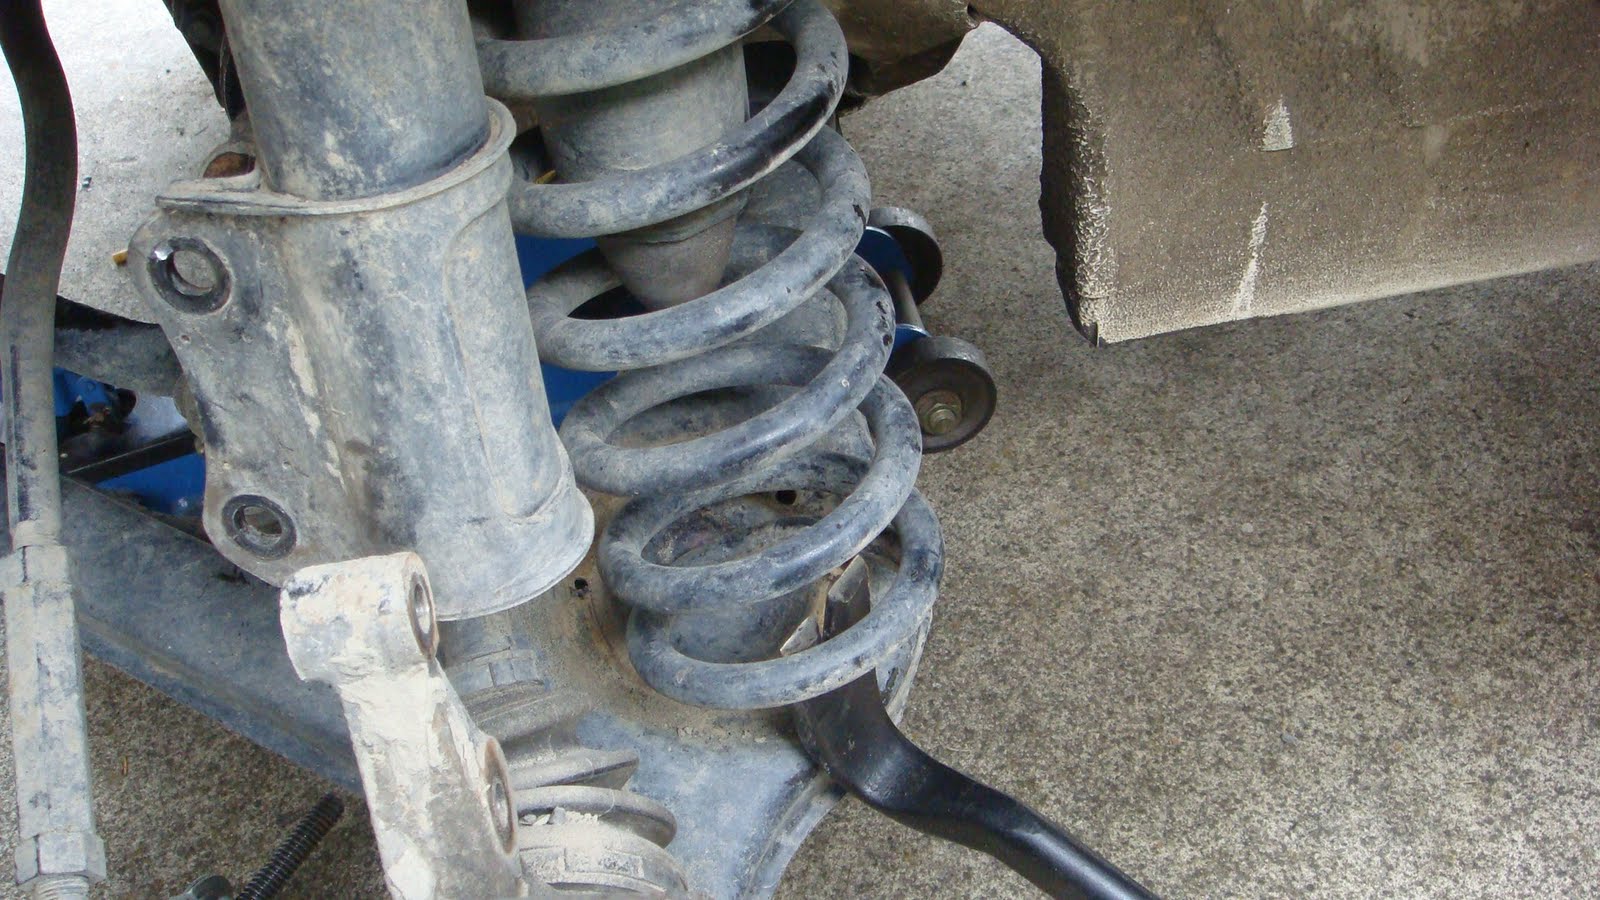
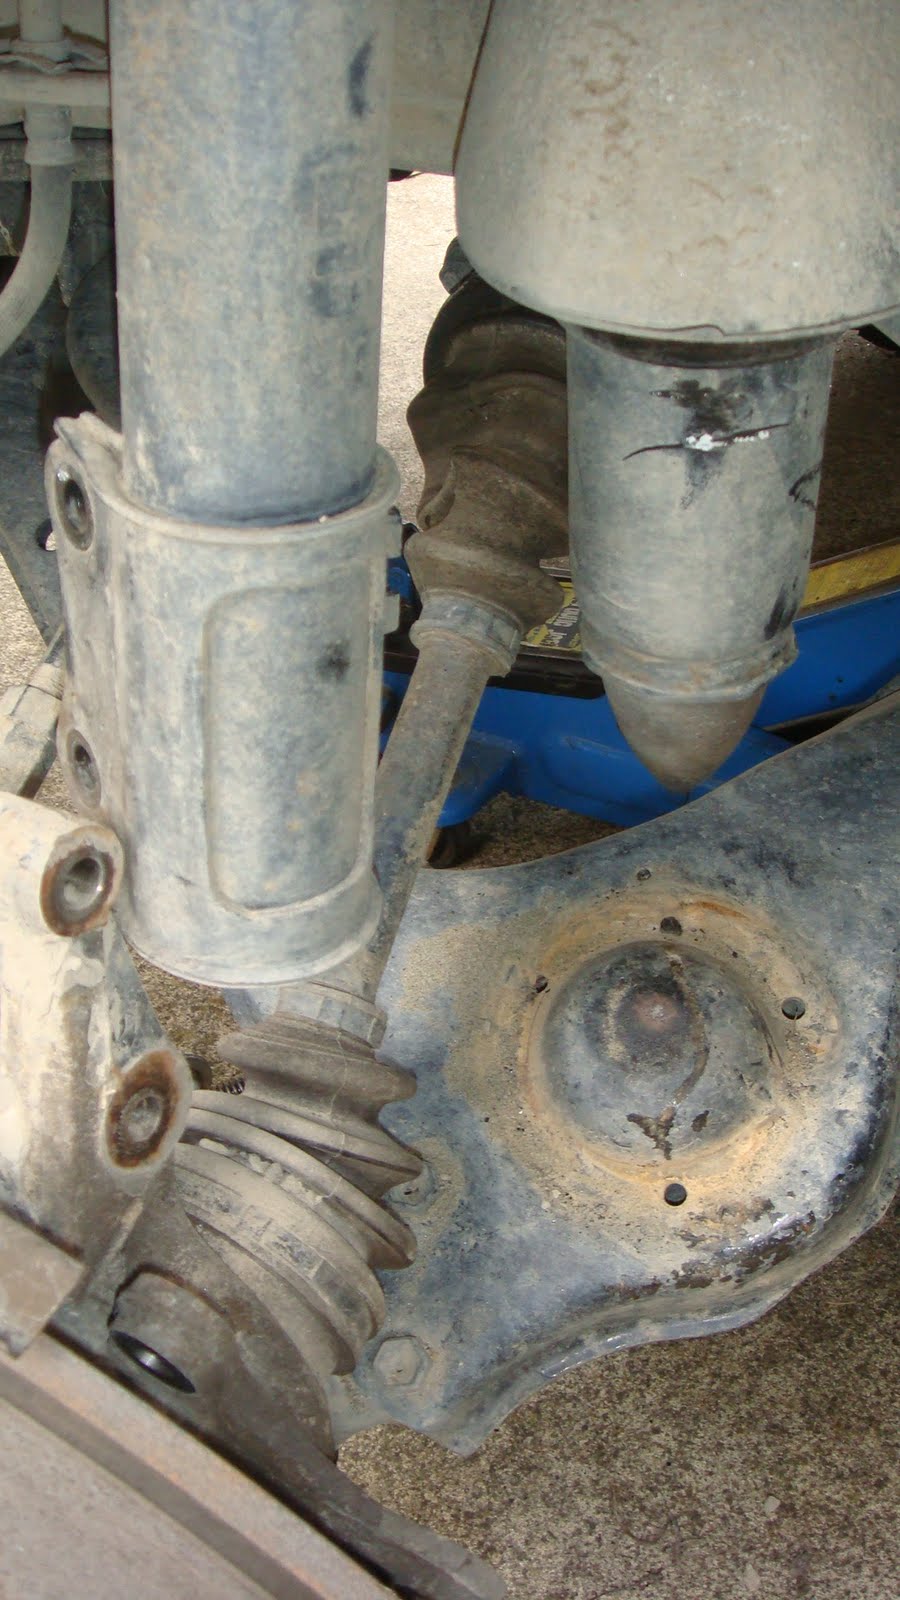
Given the slightly raised suspension and thicker spring one would expect to have a stiffer ride. In my situation whereby the original springs had sagged, the car was riding lower and the strut would have smaller play. This in turn would result in the car “topping up” (please note the pic below).

The desired outcome would imply most amount of play in both directions and give you a little bit more height.

The technical specs behind the springs are:
4 dr 4WD, Front = 508.7lbs, 227mm long
Rear = 173.4lbs, 250mm
4 dr 2WD, Front = 508.7lbs 220mm
Rear = 173.4lbs, 238mm

2 dr 4WD, Front = 452.8lbs, 227mm
Rear = 156.5lbs, 250mm
2dr 2WD, Front = 452.8lbs, 220mm
Rear = 156.5lbs, 238mm

Lets begin.
Ensure your car is up on the jack, secured and your brakes are on.
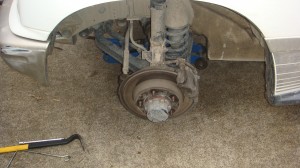
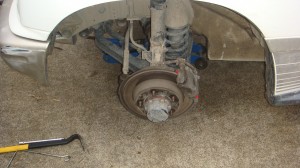
Remove your front wheel.

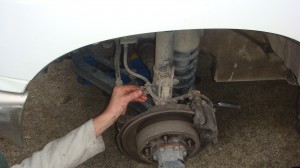
Undo the two bolts holding the brake caliper in place. Note these are in the rear of where the picture is showing.

Remove your clip holding your brake cable.

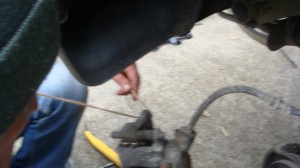
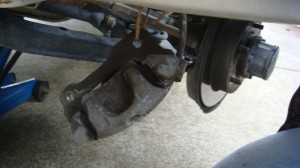
Tie your caliper with string/cable ties out of the way.

Loosen the two bolts holding your strut into place. Size 17 Metric.
Do not remove the bolts! Springs hurt.. Once loosened you will put a jack under your A arm to slowly release the spring compression.

Slowly allow the A arm to drop. Note the second jack used to drop the A arm.

Remove support arm. One bold underneath. Ensure to counter from top.

Once your A arm is dropped remove your spring. I used a crowbar.

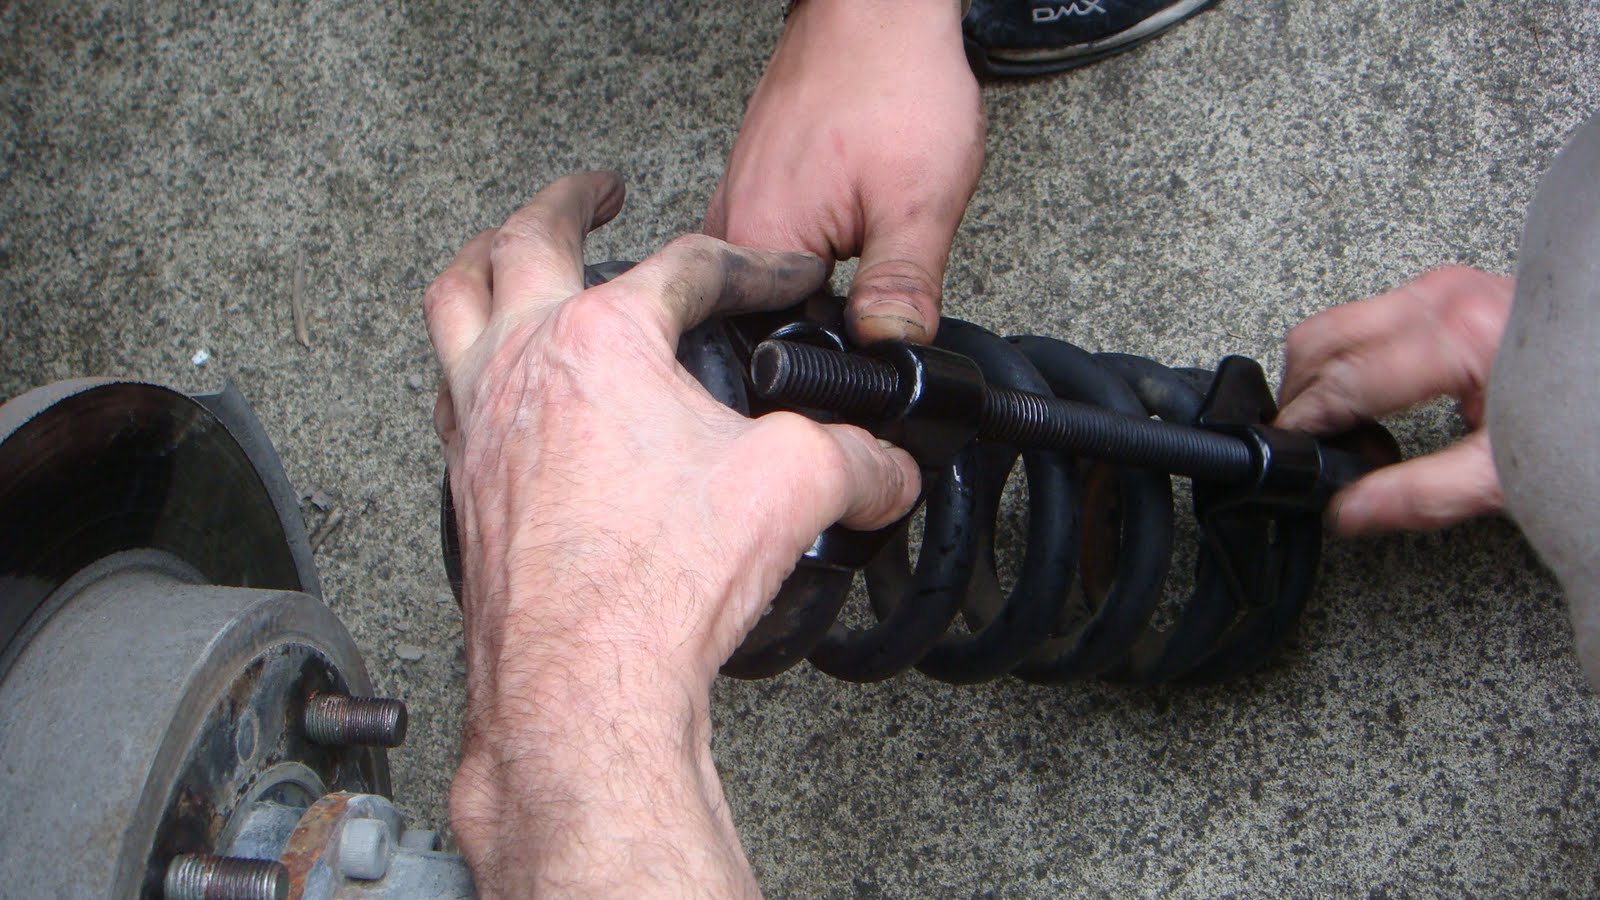
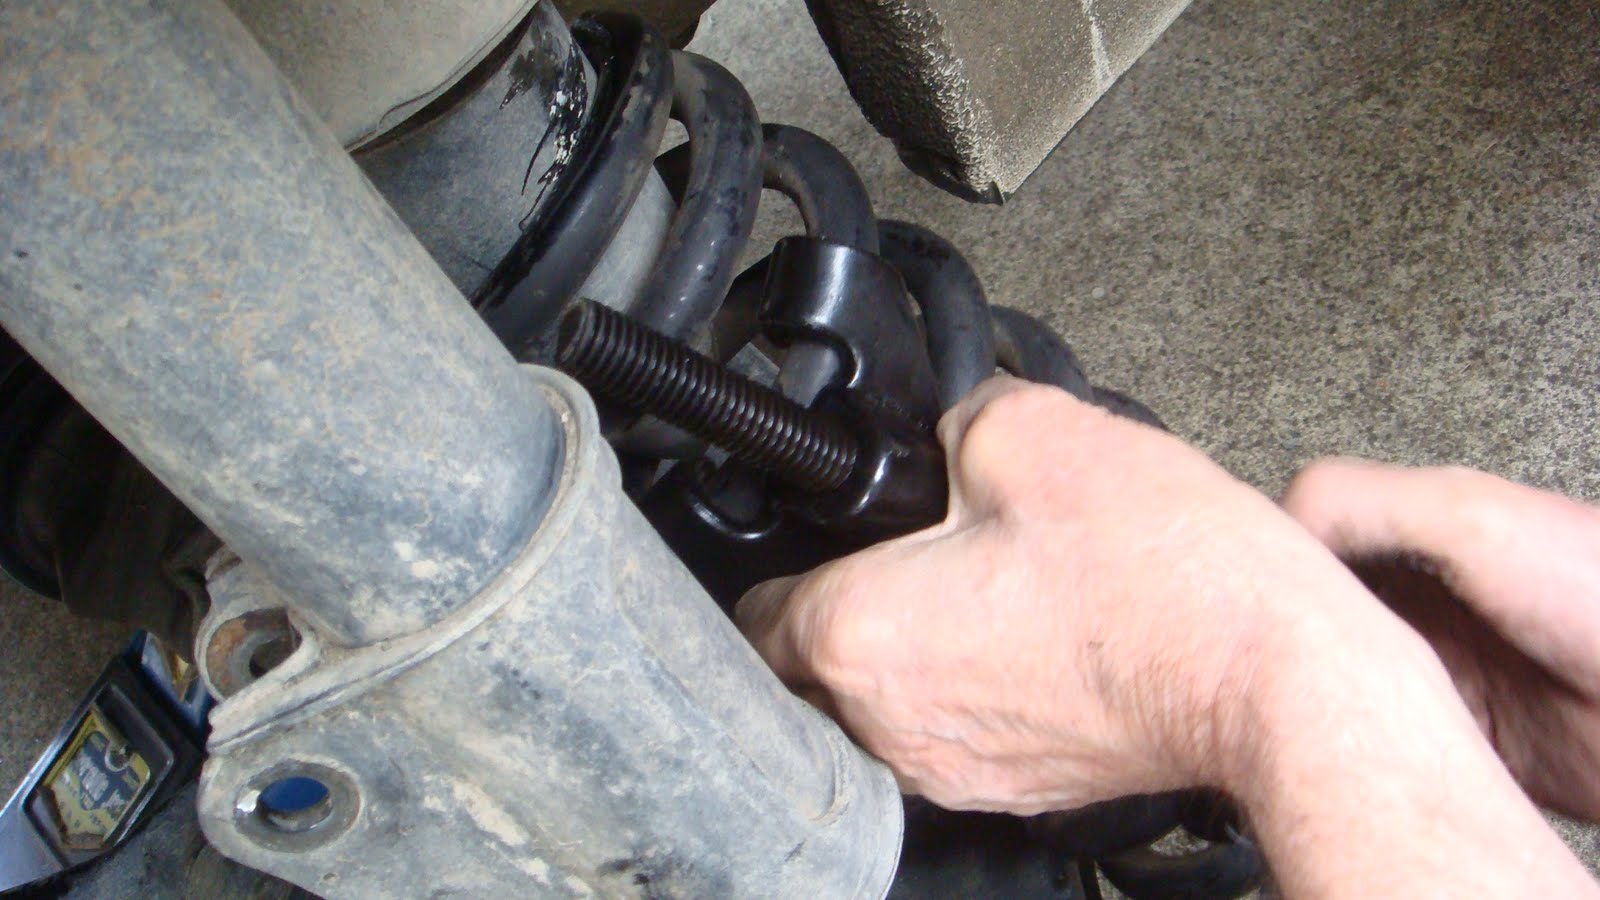
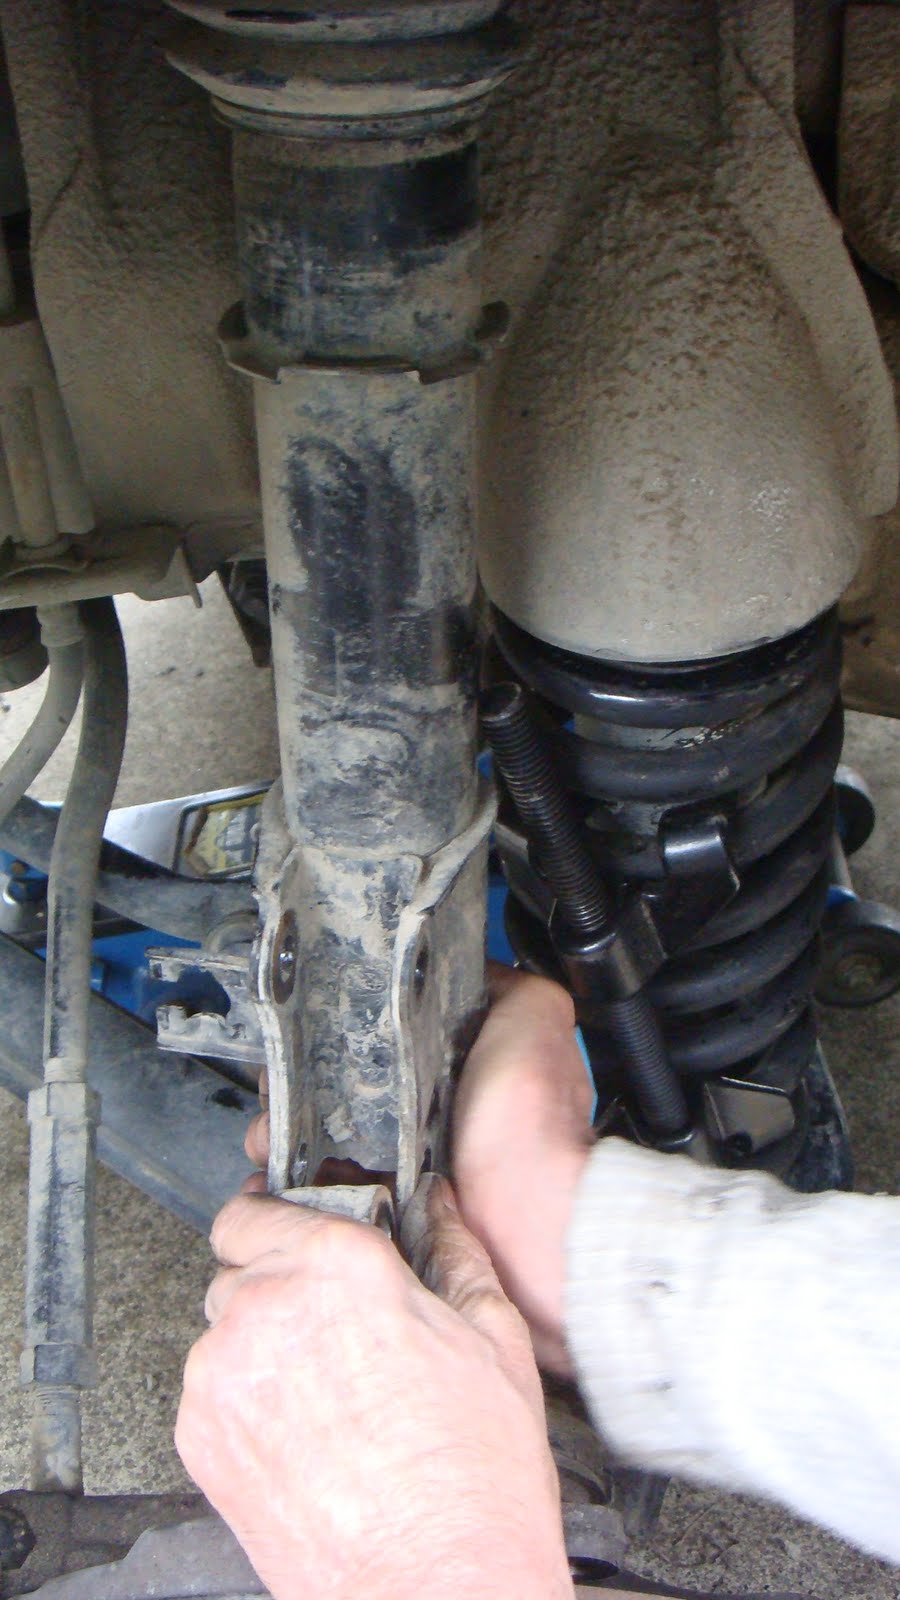
Insert new spring. This is a tricky procedure where you normally have to convince it a little. If you have a spring compressor use it; otherwise it comes down to brute force.
The picture details with a spring compressor.

Now that your new spring is in, you will need to begin reassembly.
Reconnect your support arm.

Jack up the A arm to reconnect your strut.

Note I didnt take a picture of this so the brake caliper is on in the picture but that will be the next to re mount.

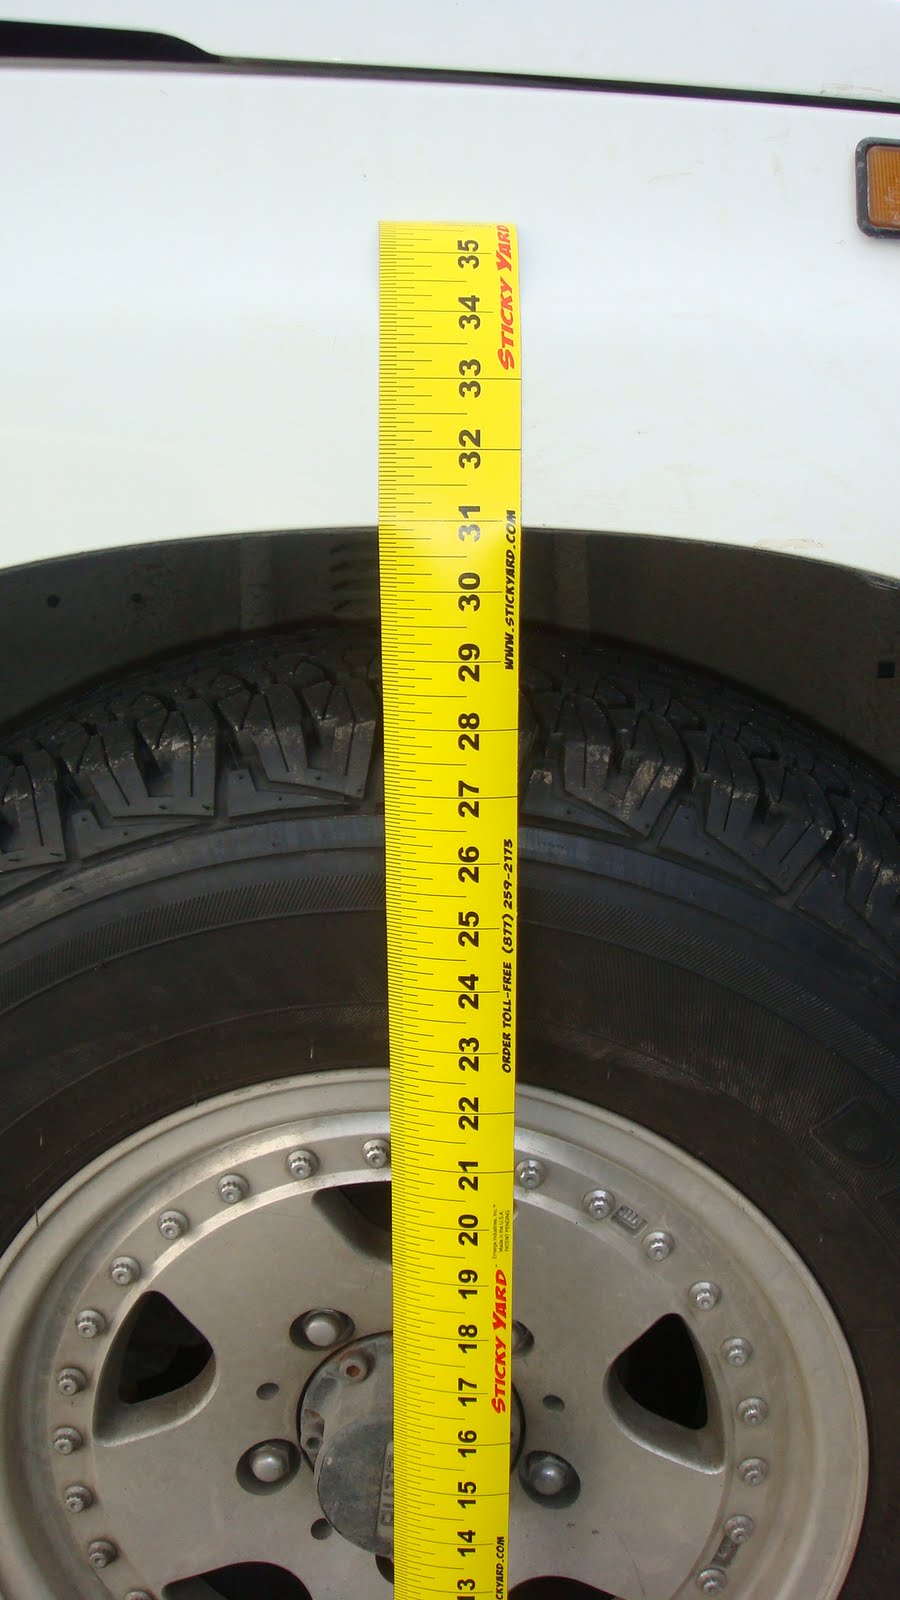
You have just upgraded your spring and achieved about 4cm of lift.
Note the before:

And after: